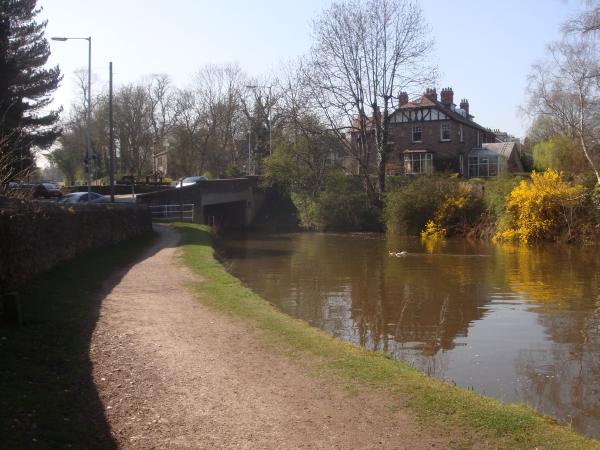
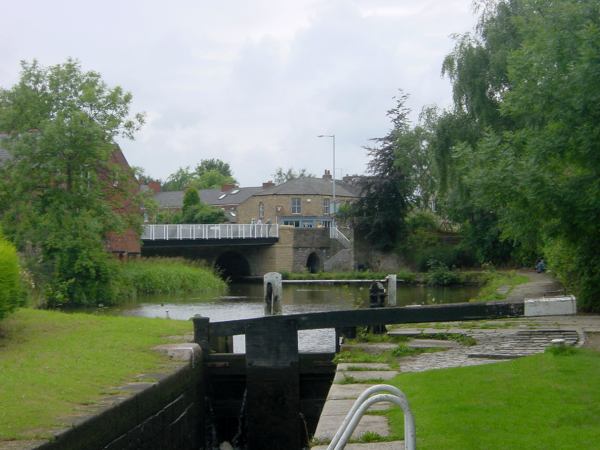
Brabyns Bridge, with Lock 9 immediately behind. Brabyns Brow crosses the bridge, leading down to Marple Station and Marple Bridge.
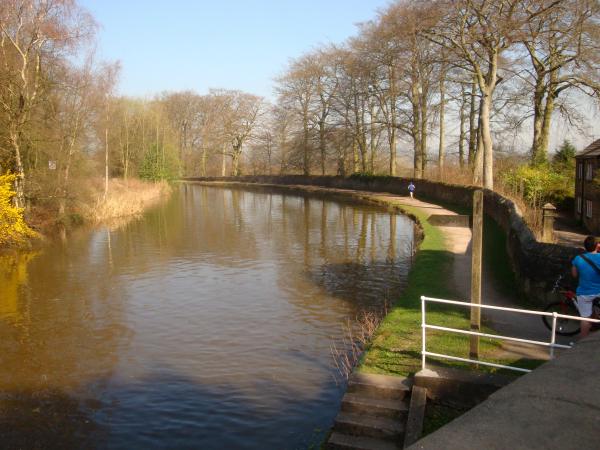
Looking back from Brabyns Bridge, Marple.
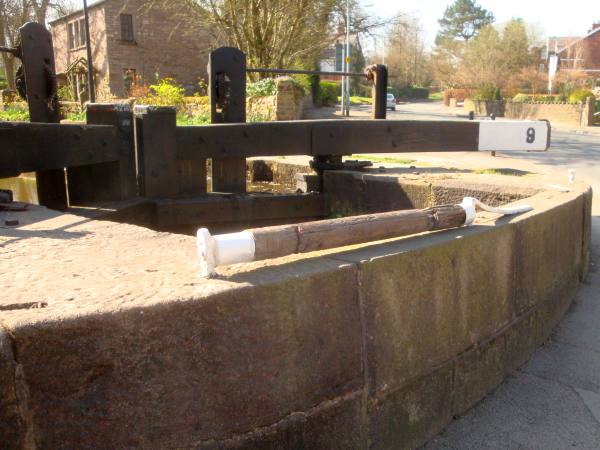
This roller on the parapet of Brabyns Bridge, next to Lock 9, Marple, eased the movement of tow ropes and prevented the ropes eroding grooves into the stonework.
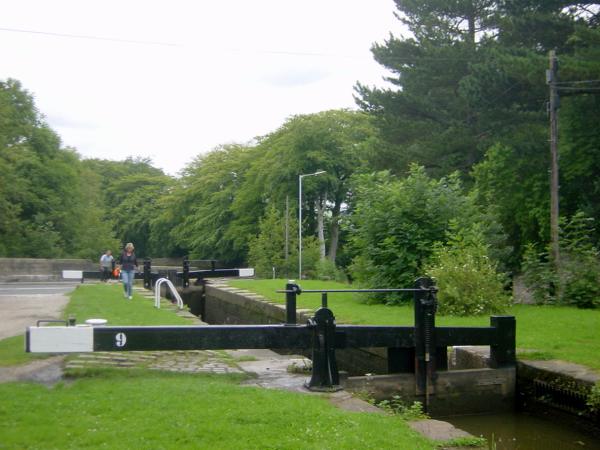
Lock 9, Marple, with Station Road/Brabyns Brow crossing behind.
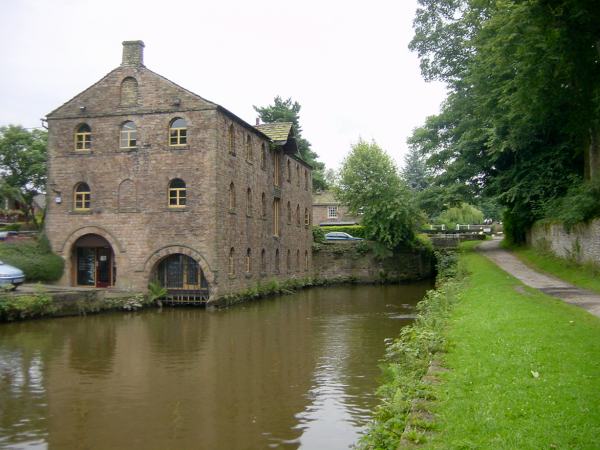
Samuel Oldknow's Warehouse, with Lock 10 seen to the right. The warehouse had a loading arm going inside for easier trans-shipment of goods. The tram road that linked the Upper and Lower Peak Forest canals until the locks were completed crossed the canal just downstream of this lock.
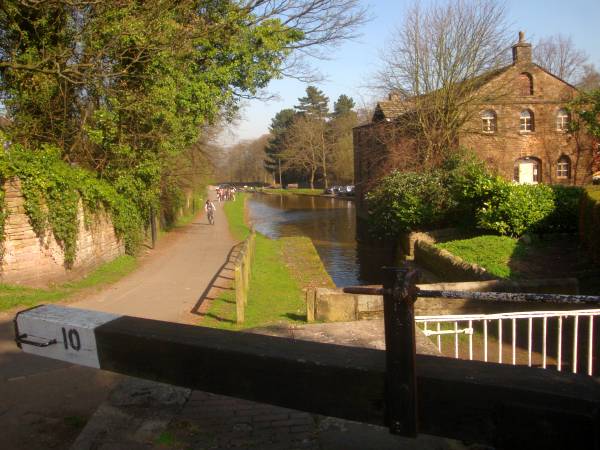
Looking back to Lock 9 from Lock 10. Immediately below the lock the canal was crossed by the tramway which linked the two parts of the canal until the locks were completed.
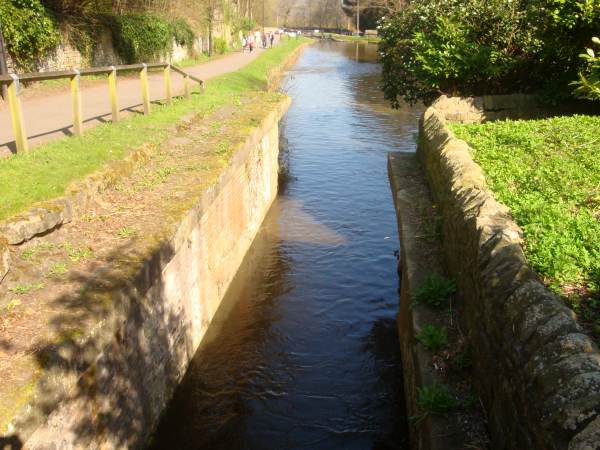
The projections above the channel below Lock 10 show where the former tramway crossed.
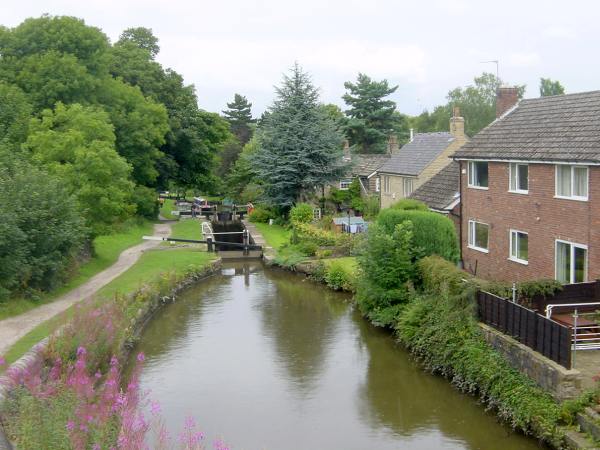
Lock 10, Tollgate Cottage Lock, seen from Lock 11. Tollgate Cottage still stands alongside the lock, fronting onto St Martins Road.
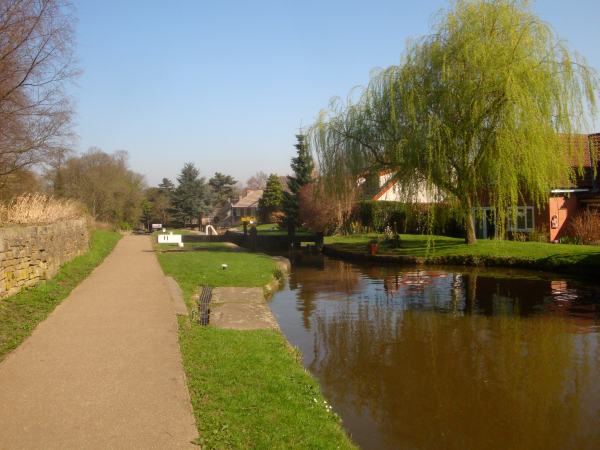
Lock 11, Brick Row Lock. Brick Row was a line of cottages built for Samuel Oldknow's workers. It ran at an angle away from the canal on the offside near the lock.
Looking towards Possett Bridge, near the Navigation Inn in Marple, from Lock 12, Black Wharf Lock. Black Wharf and Moult's timber yard were on the left. An arm serving Hollins Mill led off to the right. Examination of the towpath edge shows where the entrance to this arm was.
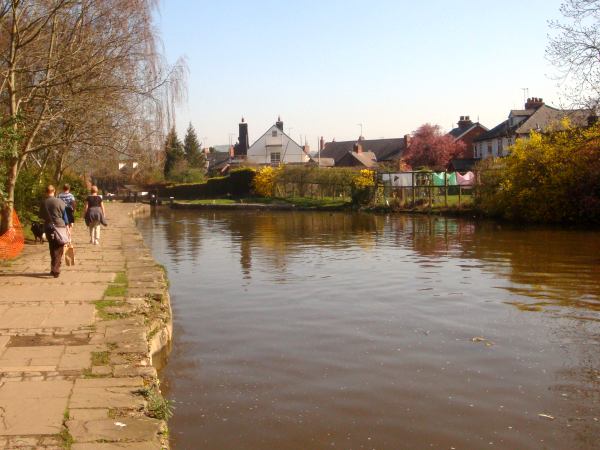
Looking back to Lock 12, Black Wharf Lock. Black Wharf was on the right, just above this lock, along with Moult's timber yard and the smithy forge. An indentation in the edge of the towpath in the foreground shows where the Hollins Mill arm left the canal.