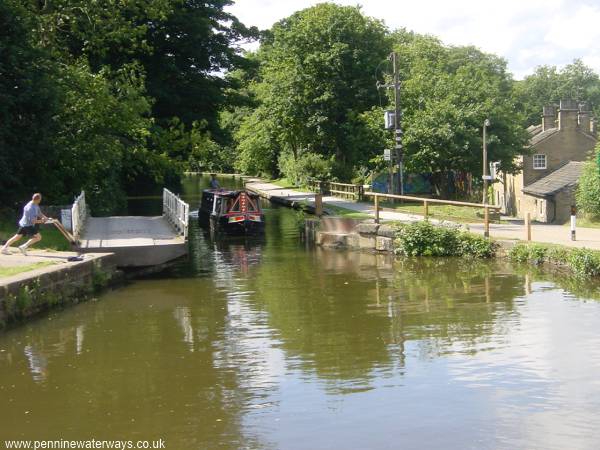
Hirst Mill Swing Bridge, just above Hirst Lock.
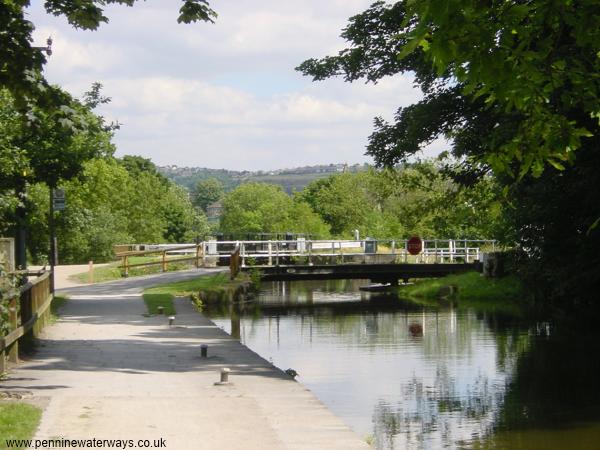
Hirst Mill Swing Bridge.
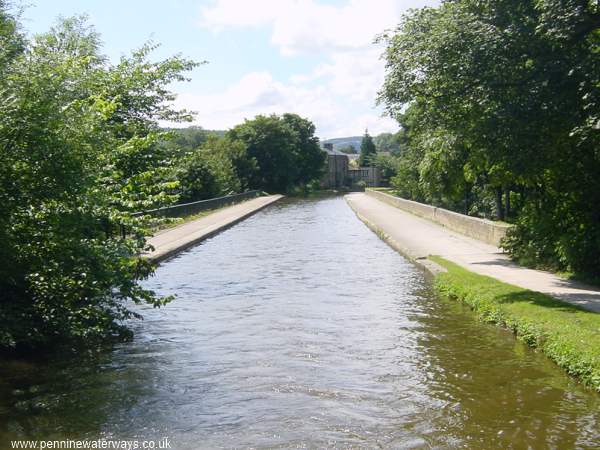
Approaching Dowley Gap Aqueduct between Saltaire and Bingley.
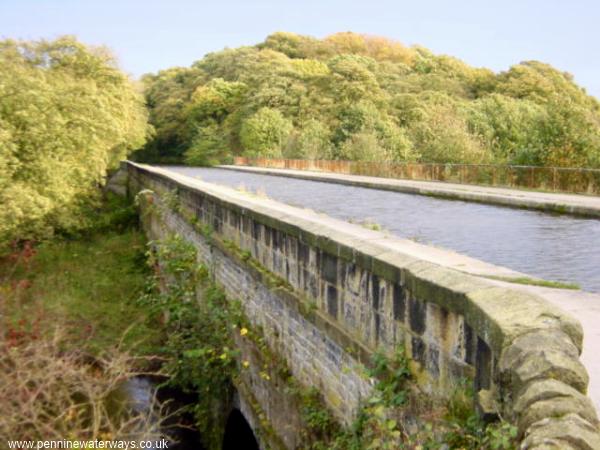
Dowley Gap Aqueduct crossing the River Aire.
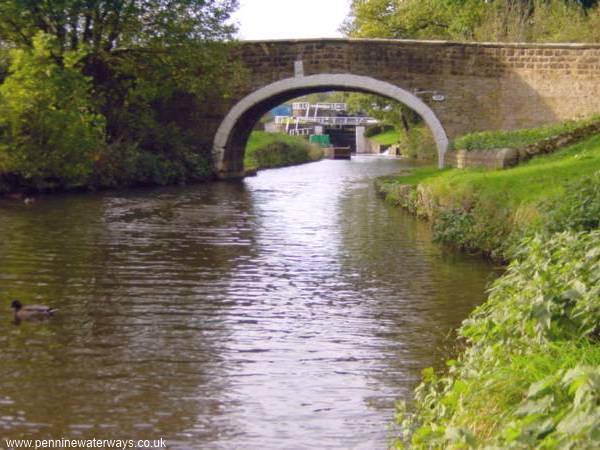
Looking west from Dowley Gap Aqueduct to Dowley Gap 2-rise staircase locks.
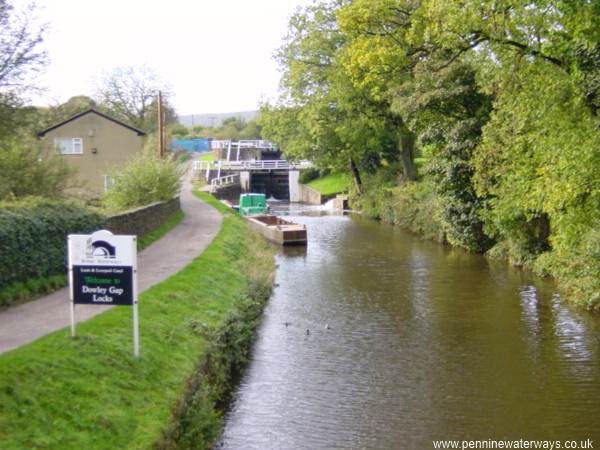
Dowley Gap Locks.
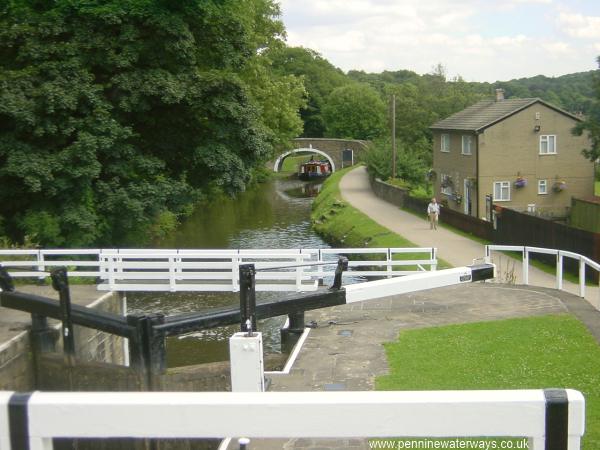
Dowley Gap Locks.
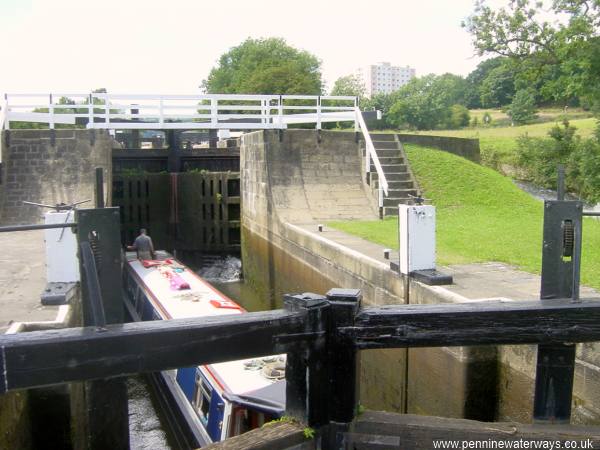
Dowley Gap Locks.
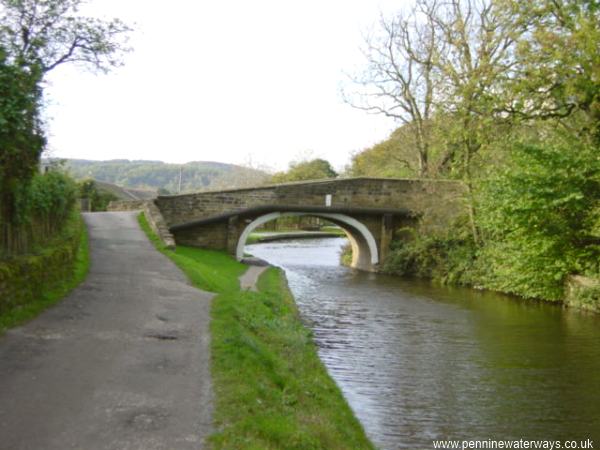
Scourer Bridge no. 205 carries Dowley Gap Lane across the canal.