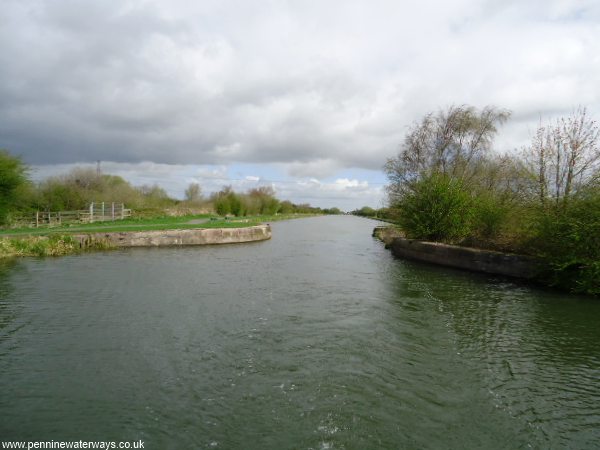
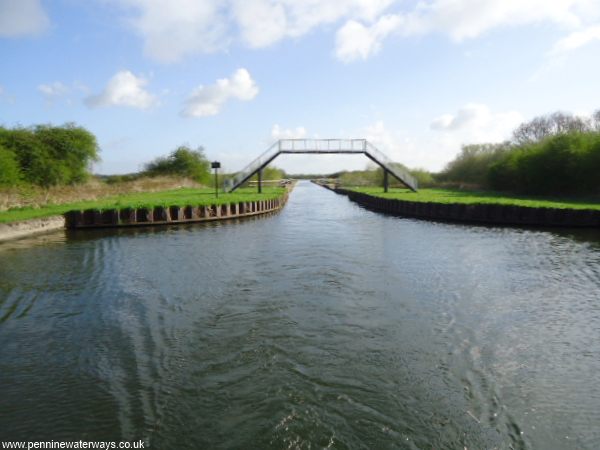
A narrowing of the canal shows the site of the former Smallhedge Swing Bridge.
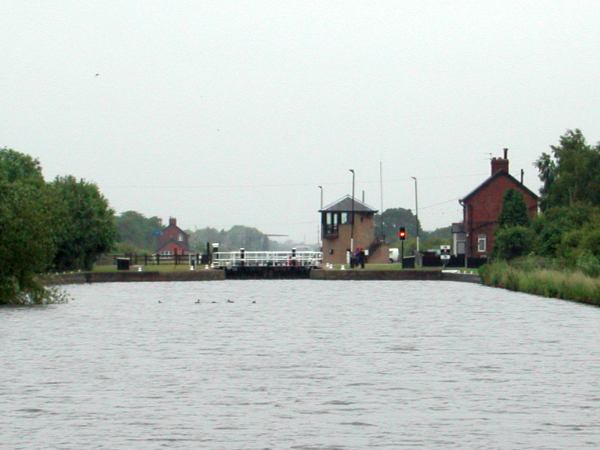
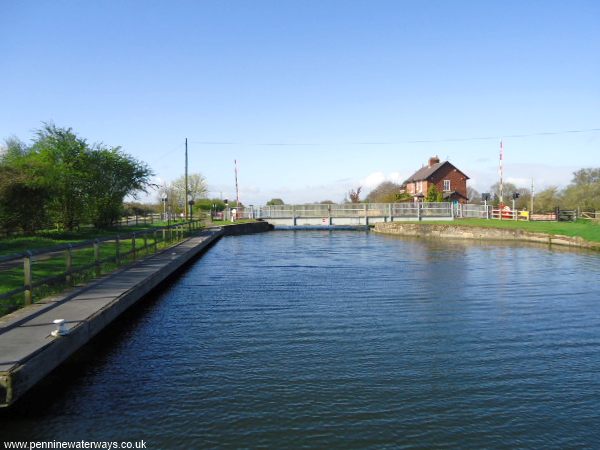
Approaching Sykehouse Lock.
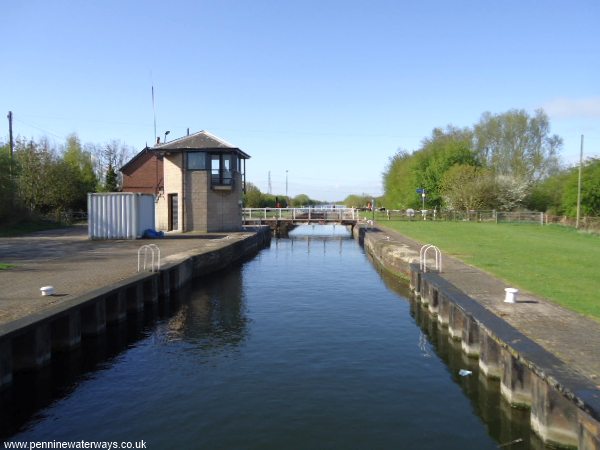
Sykehouse Lock has a manual swing bridge across the chamber. This must be opened before the electrically-powered sluices and gates will operate.
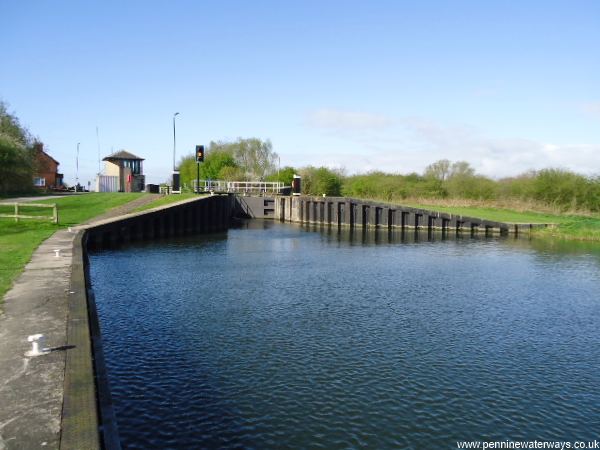
Downstream view of Sykehouse Lock.
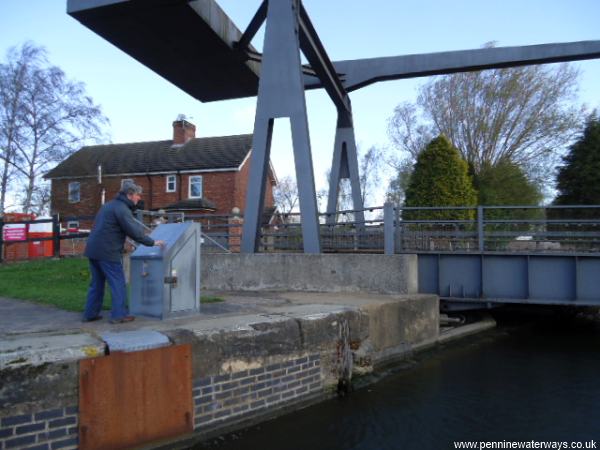
Kirk Lane Swing Bridge.
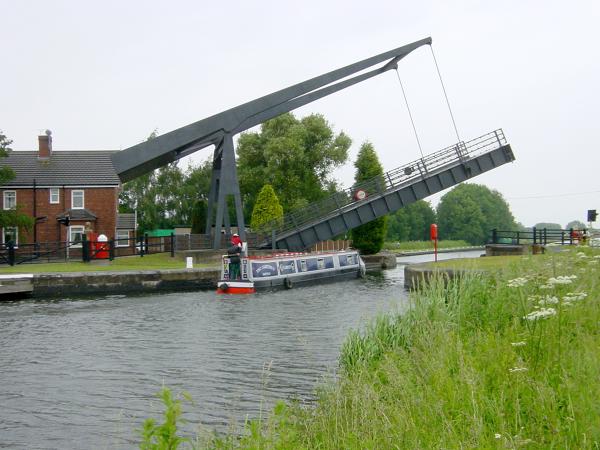
Sykehouse Lift Bridge.
All of the bridges on the New Junction Canal (apart from the swing bridge across Sykehouse Lock) are electically operated with a waterways key.
The canal narrows as it crosses Went Aqueduct, shortly before the canal joins the Aire and Calder Canal.
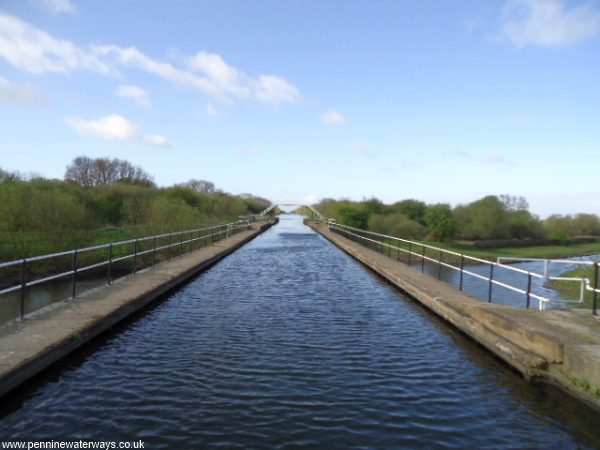
Went Aqueduct, across the River Went at the northern end of the canal.
View Larger Map
Interactive Google Aerial View of the Went Aqueduct and junction with Aire and Calder Navigation.
Back to Stainforth and Keadby Canal or continue to Aire and Calder Navigation.