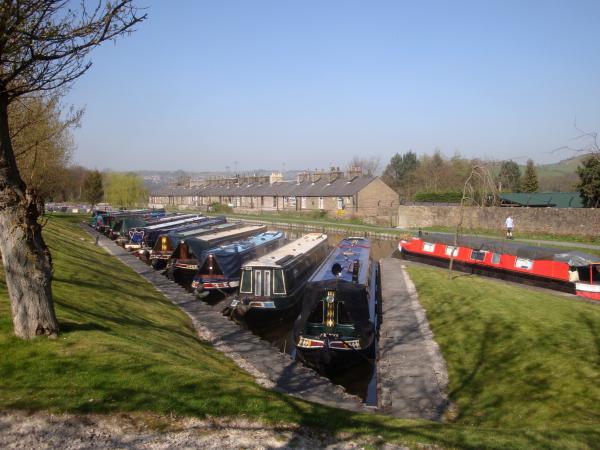
The southern part of Furness Vale marina.

Looking north at Furness Vale.
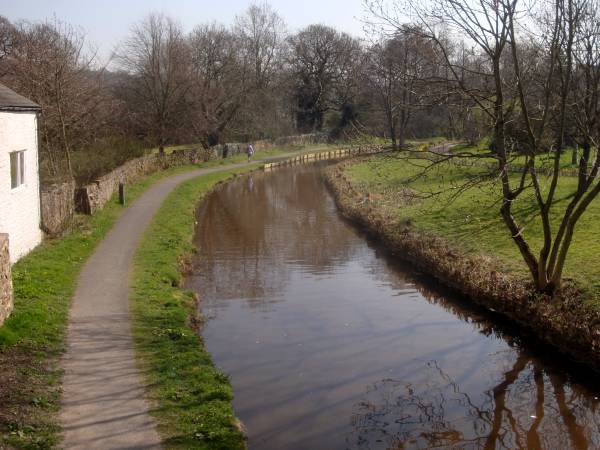
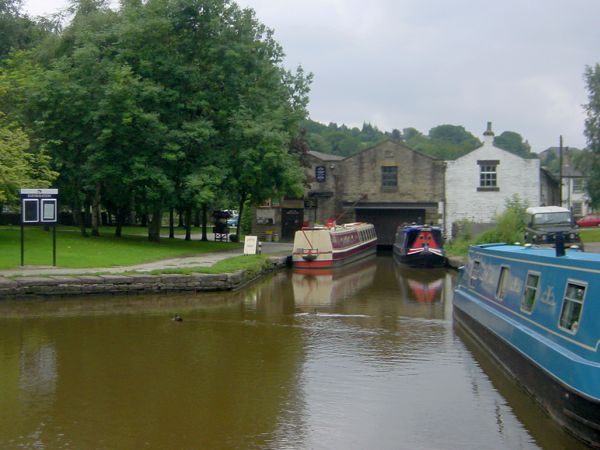
Looking south at Furness Vale.
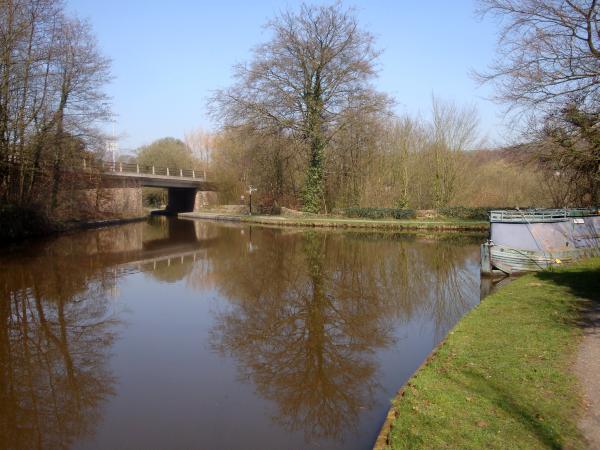
A short distance further ahead is Bridgemont junction. This picture looks north from the Whaley Bridge branch, with the line to Bugsworth to the right. (see next page)
At the end of the short Whaley Bridge branch is the Whaley Bridge Basin with its former rail transhipment shed. When the canal at Bugsworth fell into disuse, Whaley Bridge became the terminus of the canal.
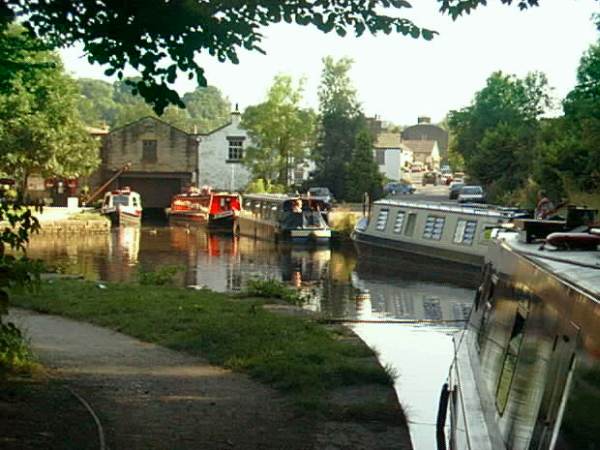
Whaley Bridge Basin.
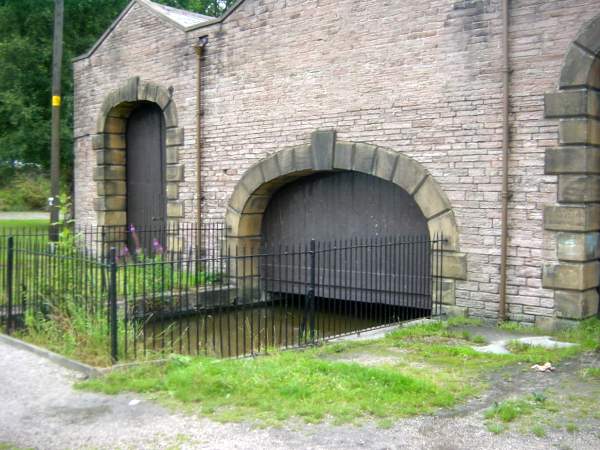
Canal warehouse, Whaley Bridge. The canal arm passes right through the building.
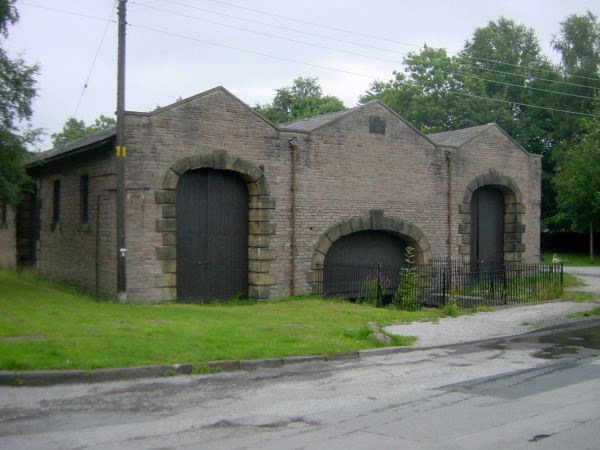
Canal warehouse, Whaley Bridge. On each side of the canal arm are doors through which railway waggons passed to be unloaded.