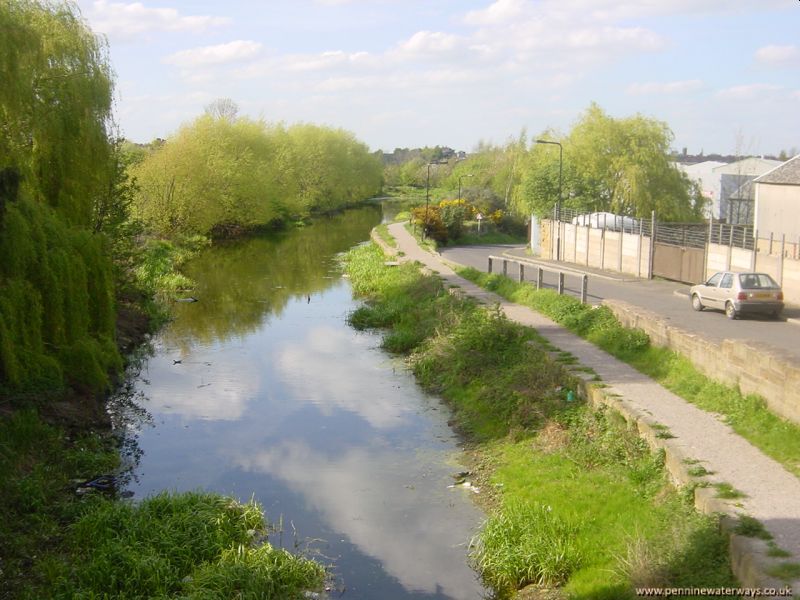
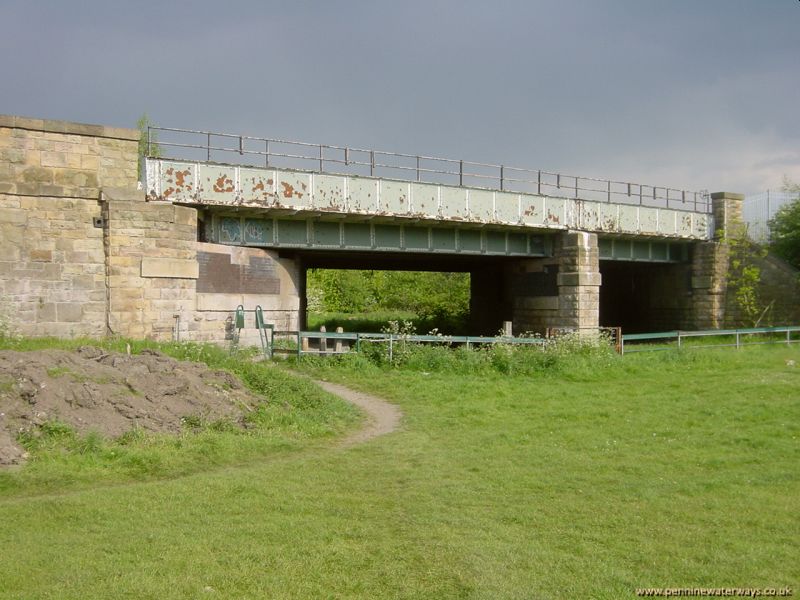
Looking north from Swinton Bridge.
A quarter of a mile ahead the canal made a dog-leg through this railway bridge. This marks the end of this section of canal in water.
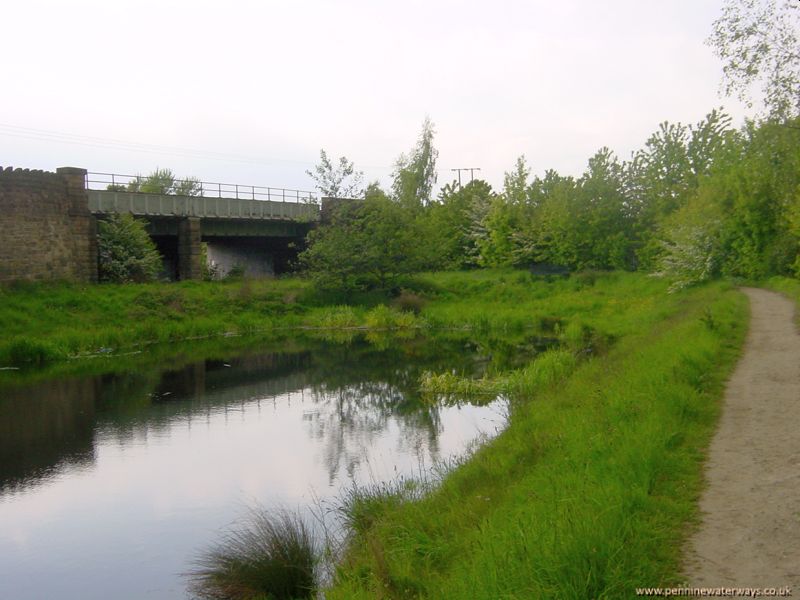
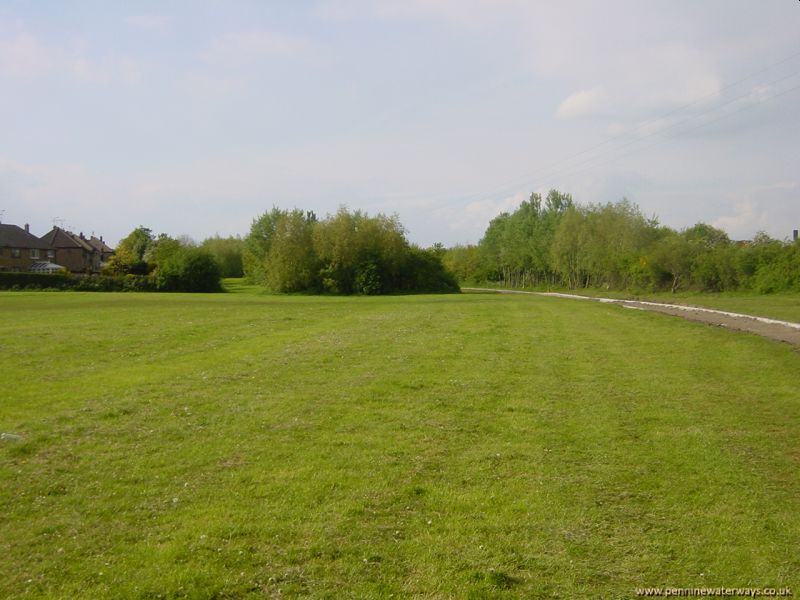
Looking back towards Swinton Bridge.
The canal bed is dry through the railway bridge but the towpath is still intact.
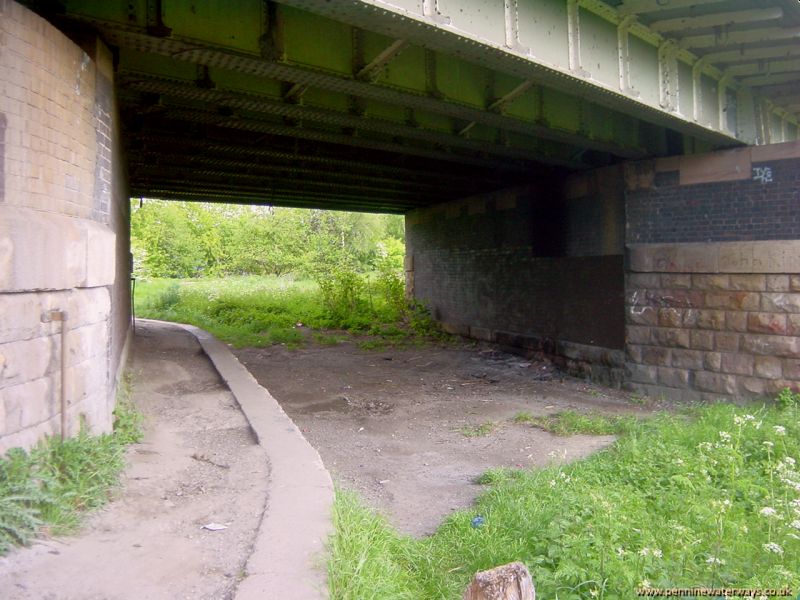
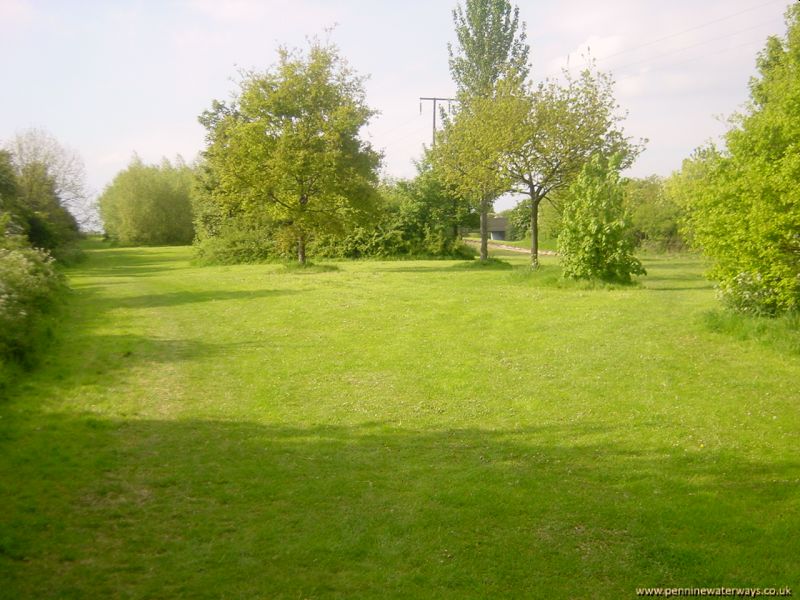
Looking back to the railway bridge.
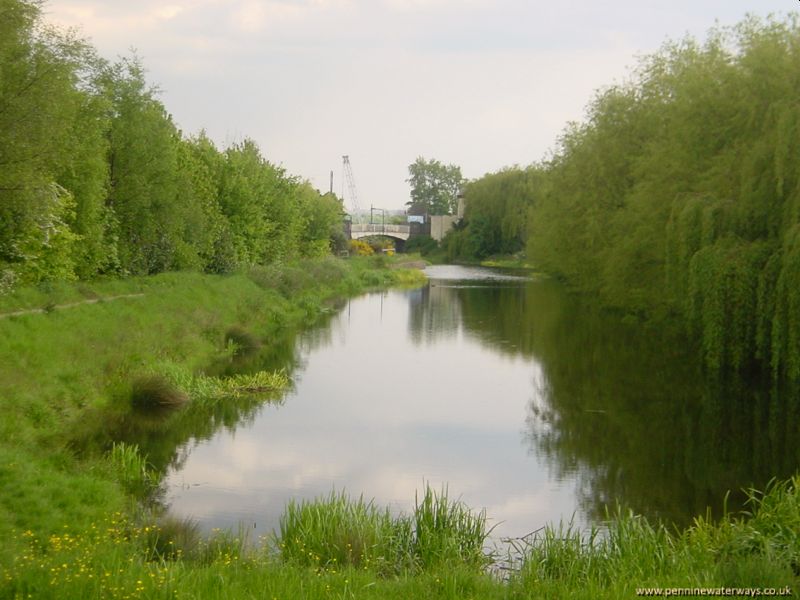
Looking north along the line of the canal. Lock 5 was situated in the foreground, with Lock 6 in the space between the trees in the distance.
Looking north from the site of Lock 6. When the canal was first built, it passed through Adwick Tunnel through the crest of this hill. It was a shallow "cut and cover" tunnel 472 yards long and the portal was situated to the left of the picture. When the railway was built, the canal was diverted to share the railway's cutting. The bridge across the railway can just be seen to right of centre.
<
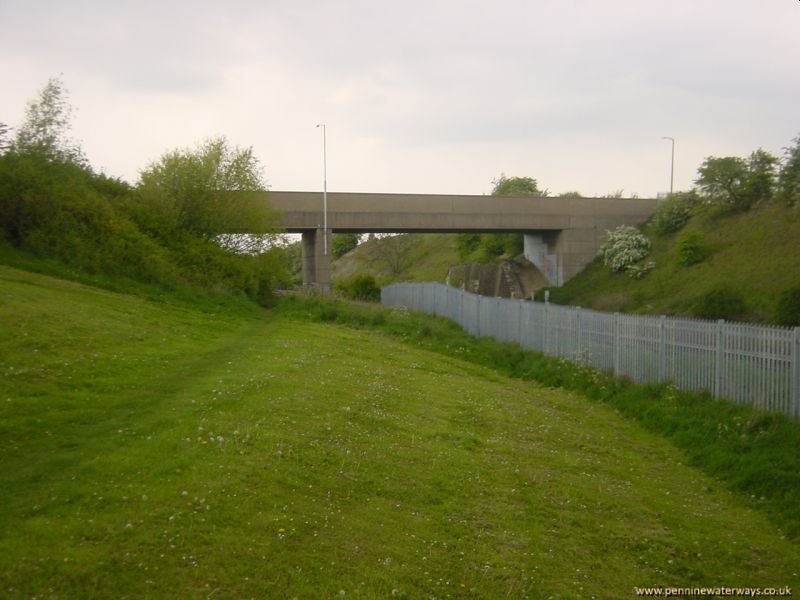
The canal curved round to pass under Bow Broom Bridge and through this cutting alongside the railway. The concrete road bridge replaced the original four arch viaduct that crossed the cutting.
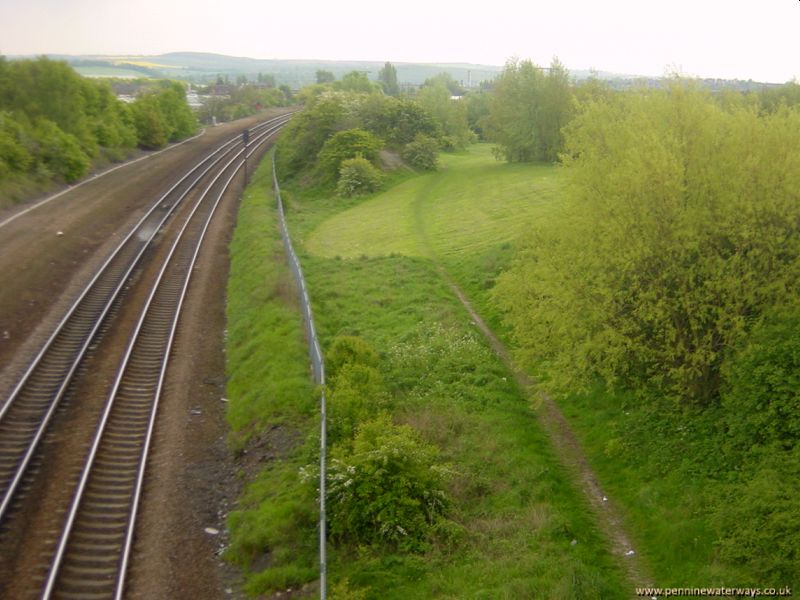
Looking back towards Swinton from the road bridge. The worn track follows the route of the canal.