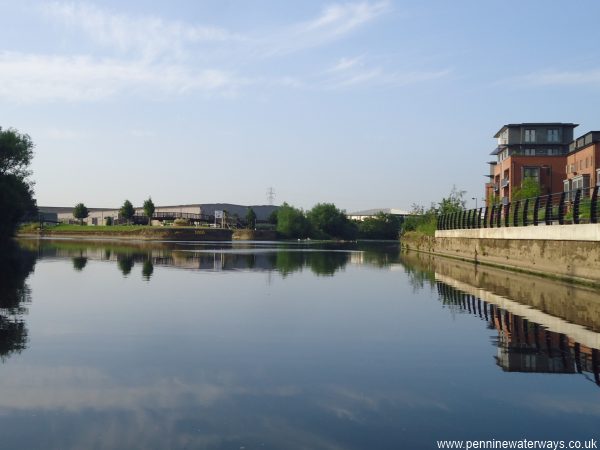
A confusing approach to Knostrop Flood Lock for boaters heading eastwards. To the left is the channel heading for the weir. To the right is a dead end. The entrance to the flood lock is to the right of the yellow sign. The footbridge crosses the flood lock
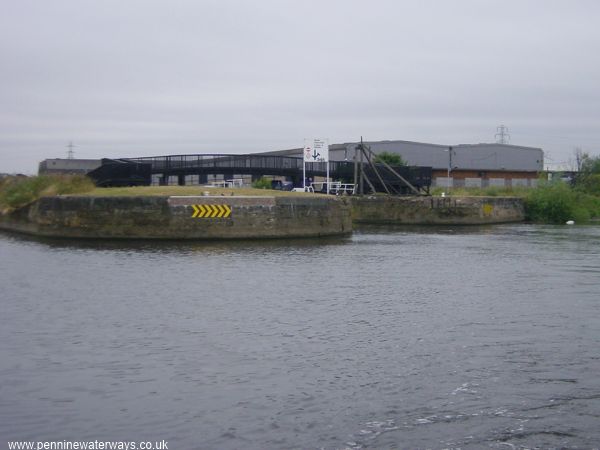
Closer look at the approach to Knostrop Flood Lock for boaters heading eastwards.
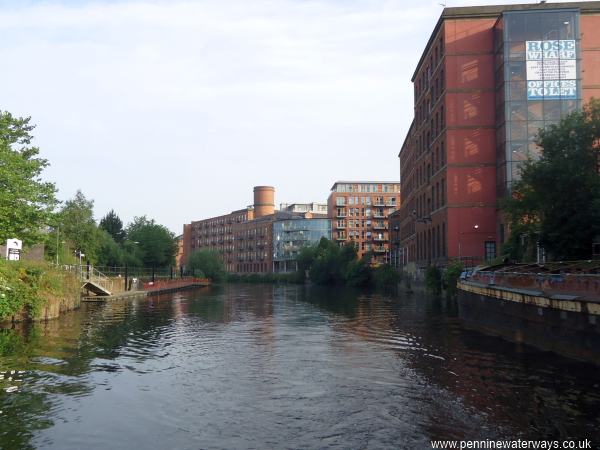
Pontoon moorings on the left just before Leeds Lock.
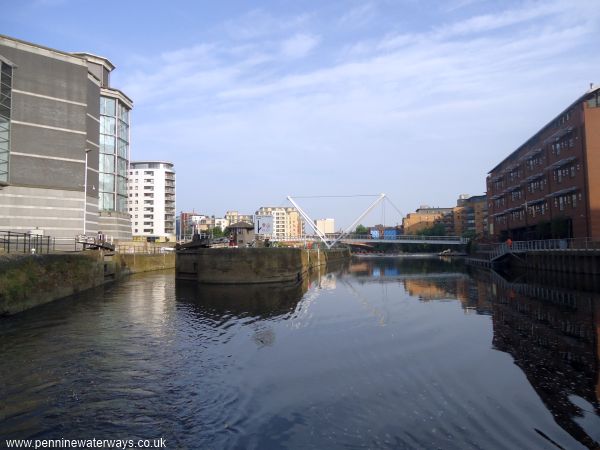
Approaching Leeds Lock, with the Royal Armouries on the left.
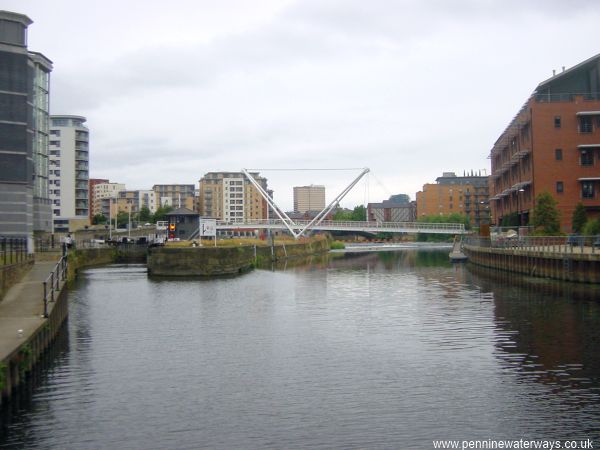
Approaching Leeds Lock, with the Royal Armouries on the left.
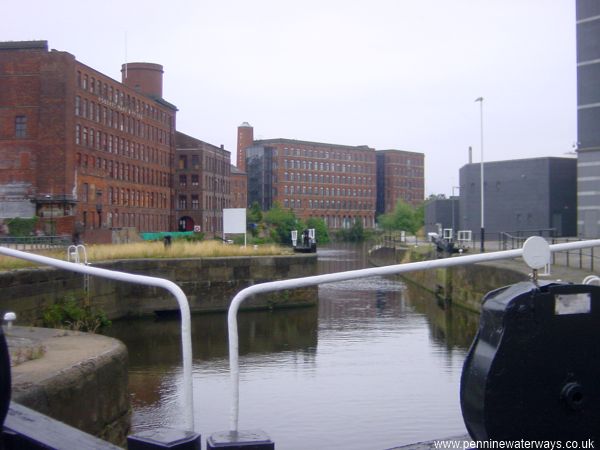
Leeds Lock.