
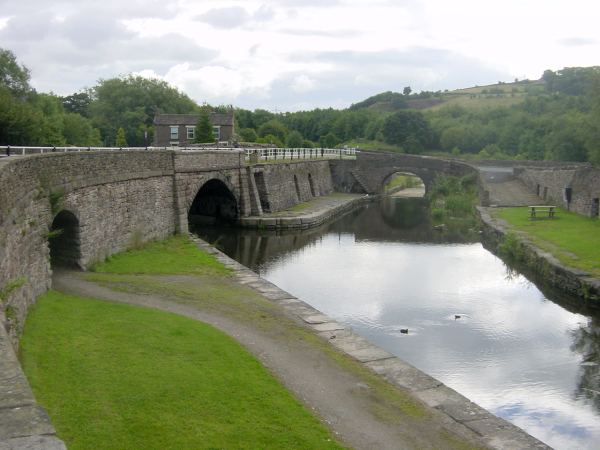
Dukinfield Aqueduct, with the junction with the Ashton Canal and Portland Basin Museum beyond.
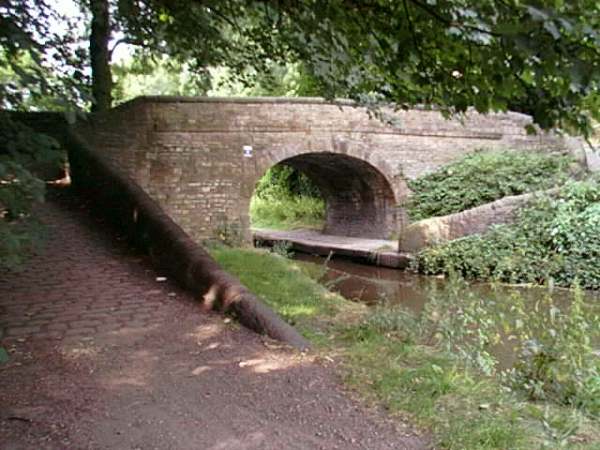
A roving bridge at Hyde, called Captain Clarke's Bridge.
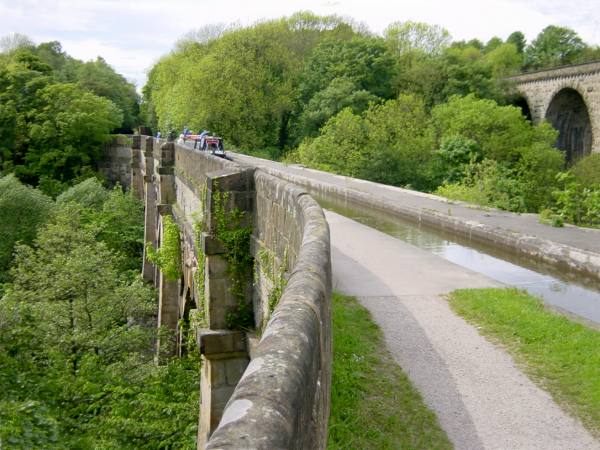
Looking back across the Marple Aqueduct, with the River Goyt flowing through the wooded valley below.
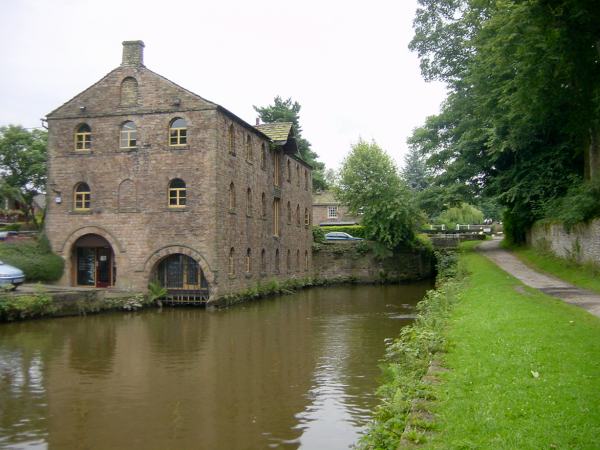
Samuel Oldknow's Warehouse, with Lock 10 seen to the right. The warehouse had a loading arm going inside for easier trans-shipment of goods.
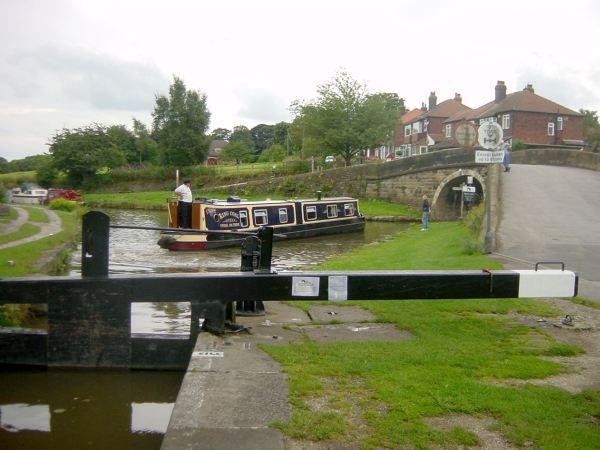
The junction with the Macclesfield Canal seen from Lock 16, the top lock, Marple.
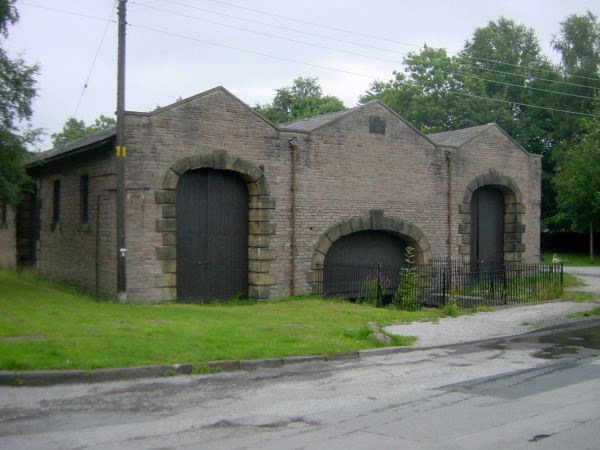
The transhipment shed at Whaley Bridge, seen from the end facing away from the canal basin. A canal arm ran right through the centre while to each side are larger doors allowing railway wagons to enter.
The Middle Basin at Bugsworth. The Middle Basin Arm leads off to the left, while the Upper Basin is beyond the far bridge.