This page shows a few of the highlights along the Calder and Hebble Navigation. You can see a fuller sequence of photos in the "virtual cruise" pages.
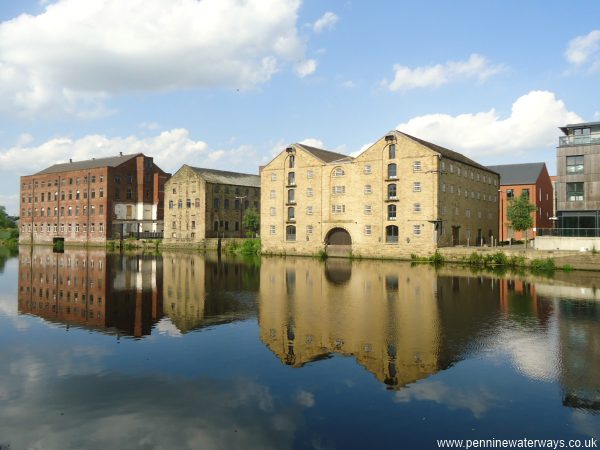
The Wakefield waterfront above the weir, with waterside warehouses.
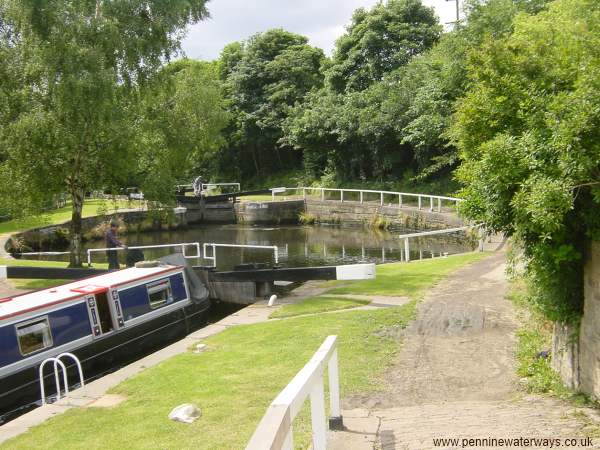
Thornhill Double Locks, immediately west of the junction with the Dewsbury Arm. The two locks have a nearly circular pound between them.
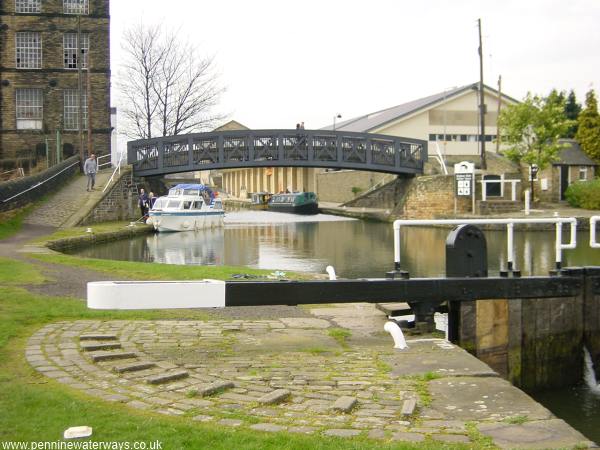
At Brighouse, the navigation climbs through two locks and passes below this "roving" bridge with a spiral ramp on each side, which enabled horses to cross without being detached from their tow ropes.
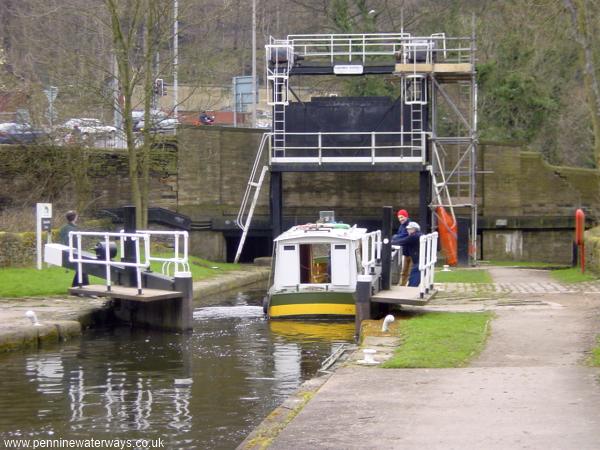
The canal climbs a series of three locks at Salterhebble. The first of these is the Guillotine Lock, next to the bridge under Stainland Road.
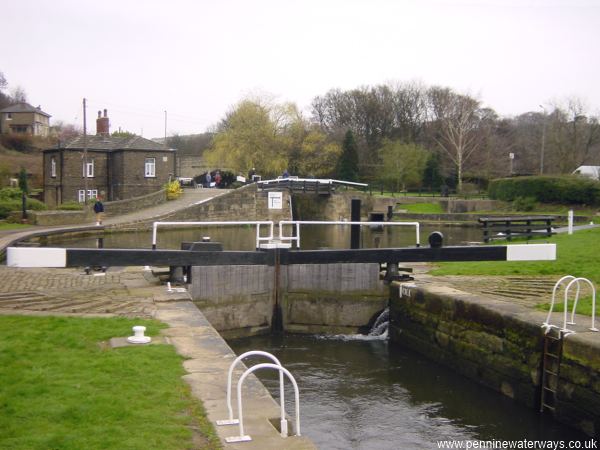
Looking up the two upper locks at Salterhebble.
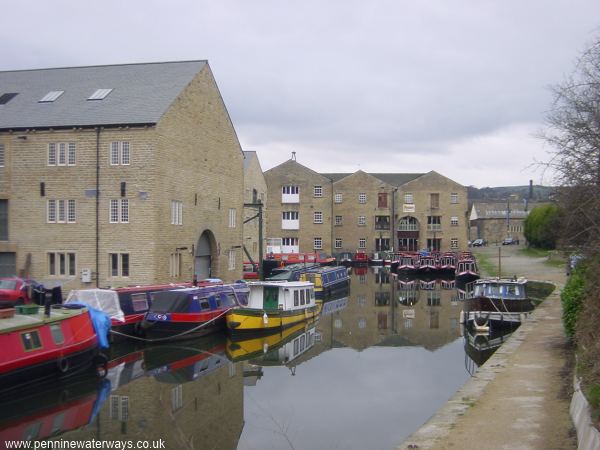
Sowerby Bridge Canal Basin, with the restored Salt Warehouse on the left.