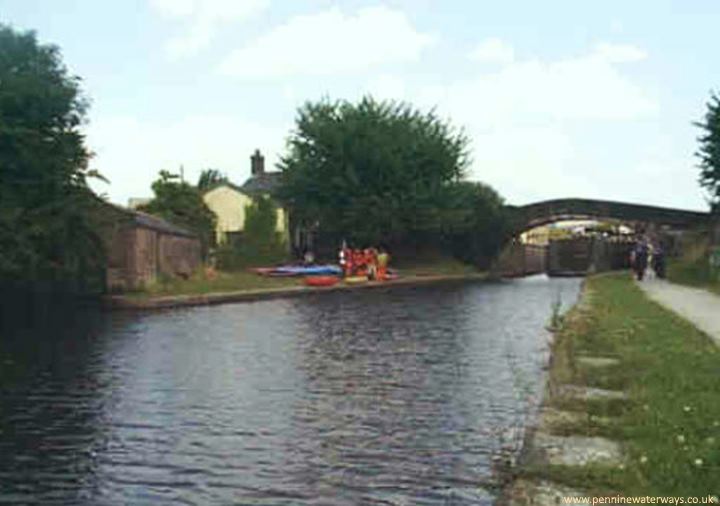
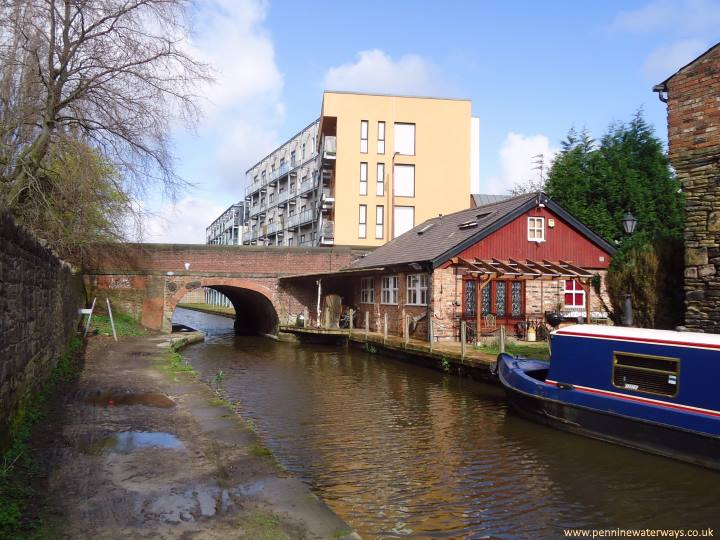
The unusual boat house to accommodate a narrow boat is to the left of the stone footbridge at Fairfield. Lock 18 can be seen through the bridge.
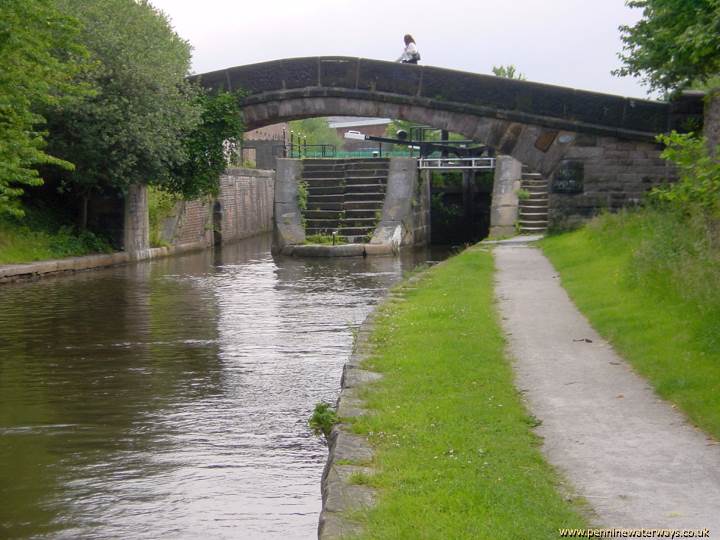
The stone bridge across the end of Lock 18 at Fairfield, originally a double lock. The left hand lock is no longer used.
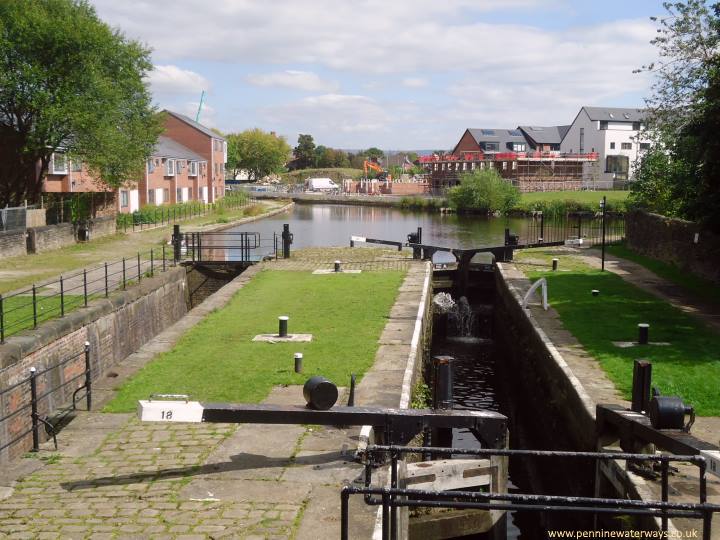
Lock 18, Fairfield Lock, the top lock on the Ashton Canal, with the former Fairfield Junction beyond. The disused lock to the left was the original lock before a second lock was built to reduce queues. The main line of the Ashton Canal turns right after the lock, while the former Hollinwood Branch went continued ahead, then curved to the left.
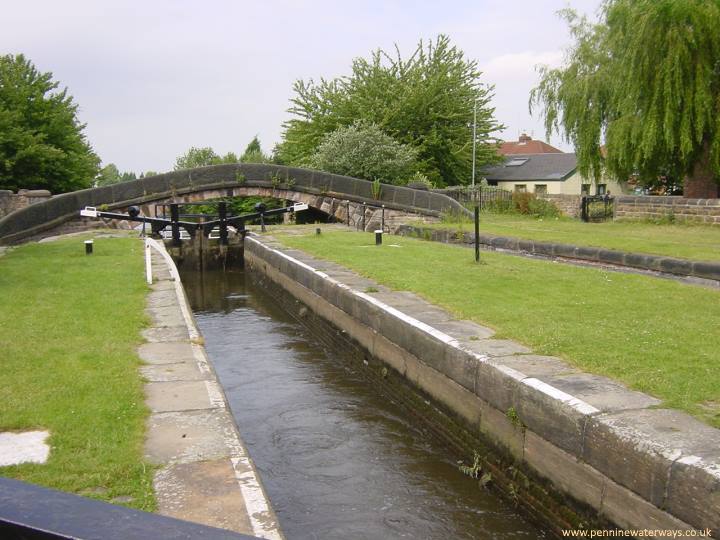
Lock 18, Fairfield. The stone bridge below the lock was built to enable boathorses to cross the canal to reach the towpath of the Hollinwood Branch. The bridge is known locally as The Camel's Hump!
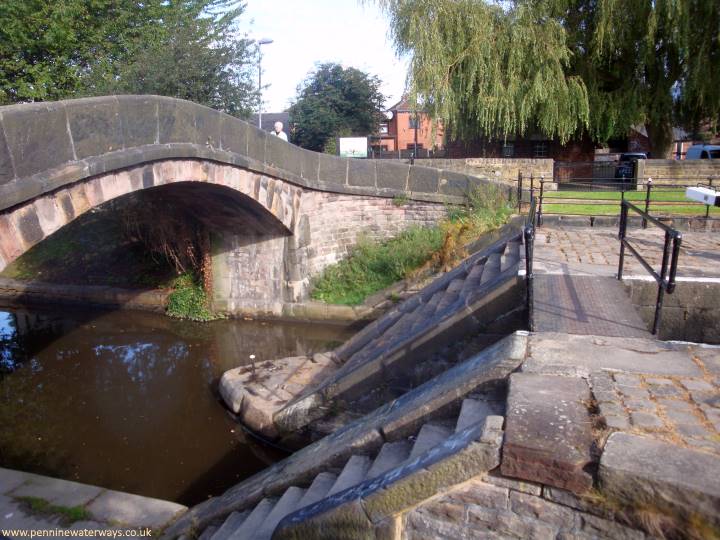
The stone bridge and the two lock chamber entrances at Lock 18, Fairfield.

The lock keeper's house alongside Lock 18 at Fairfield.
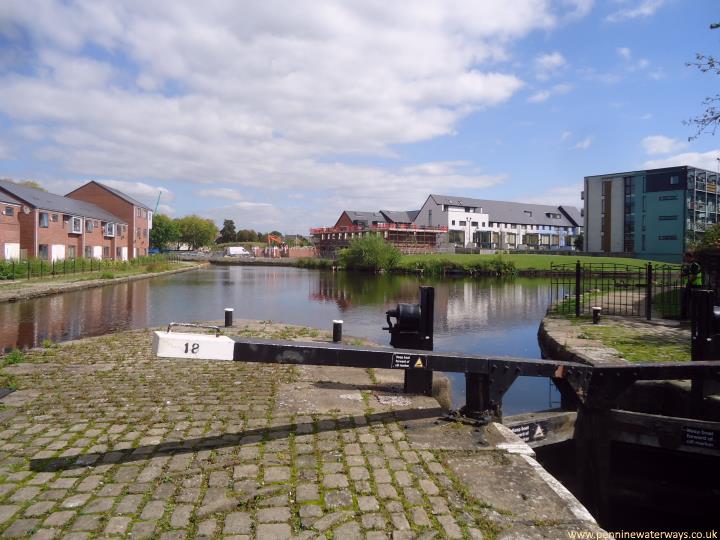
Fairfield Junction, with the re-opened first section of the Hollinwood Branch to the left and the main line towards Ashton to the right..
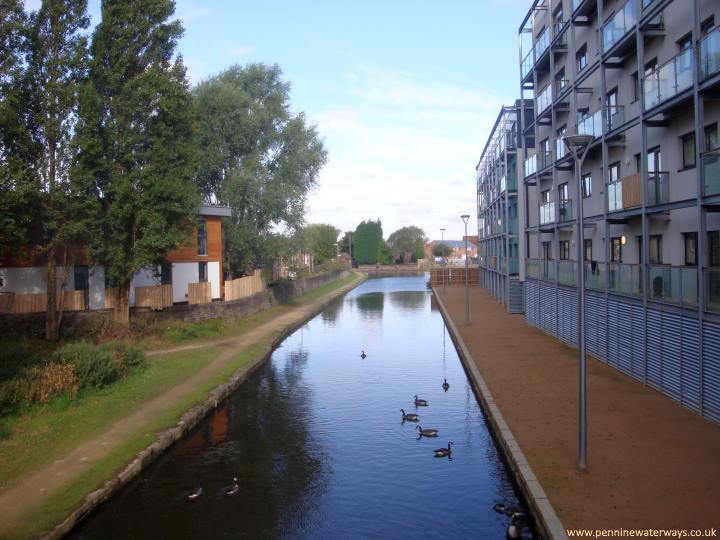
Looking back towards Fairfield Junction from Market Street Bridge, Droylsden.
Market Street Bridge, Droylsden.
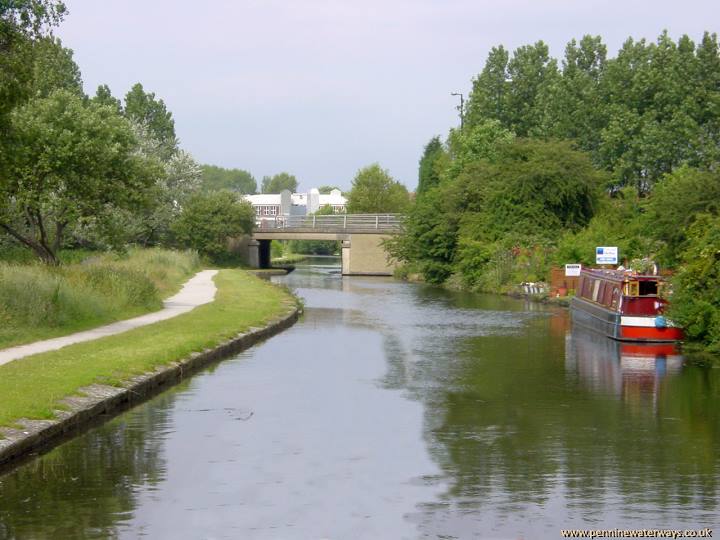
Looking back westwards to Audenshaw Bridge (A635) with the former Robertson's jam factory (now demolished) in the distance.