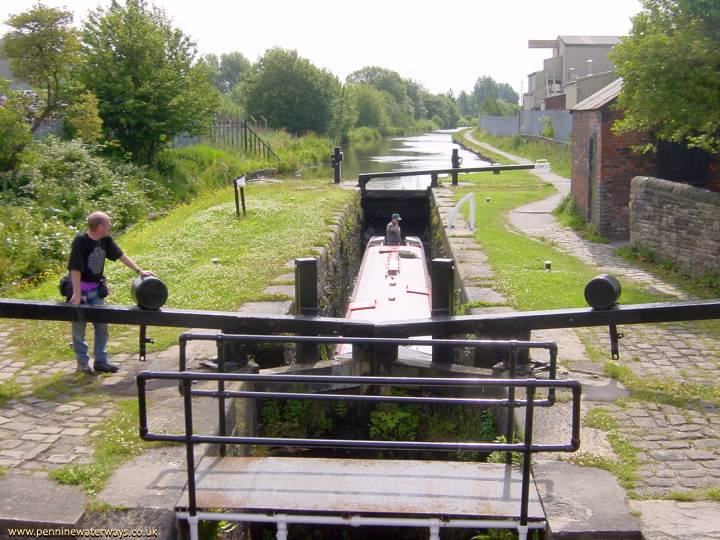
Lock 16, Edge Lane Lock. the top lock of the Clayton flight, from Edge Lane Bridge.
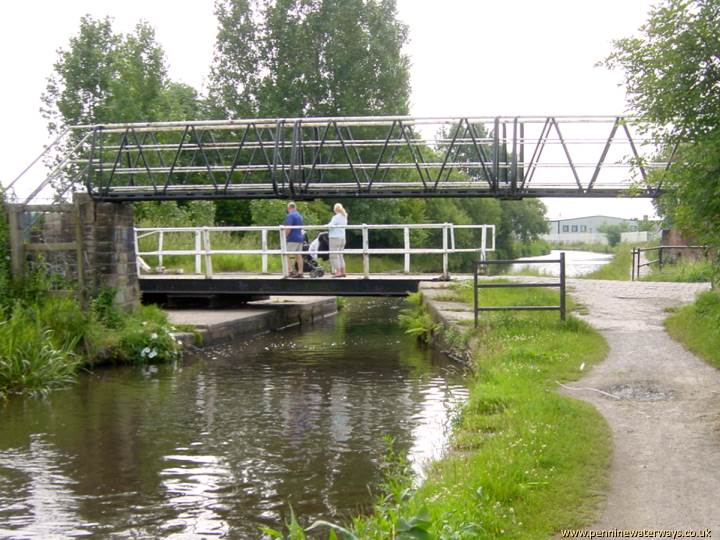
At the end of Buxton Lane is Yew Tree footbridge and swing bridge, named after a nearby pub.
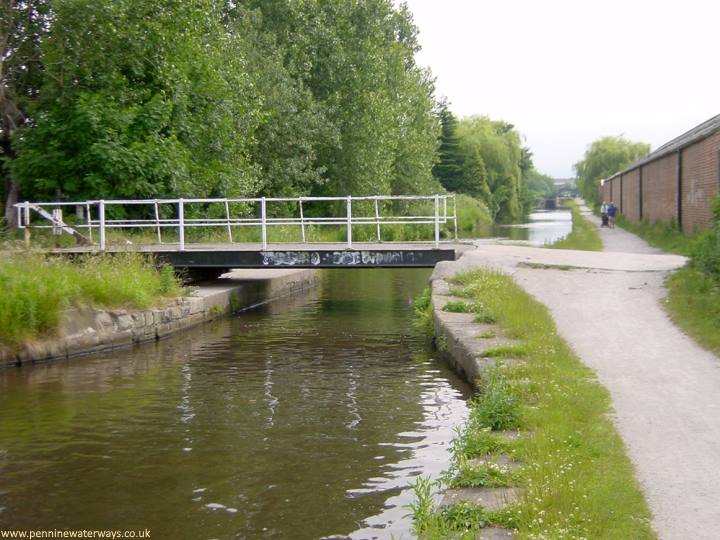
Clockhouse swing bridge, Fairfield.
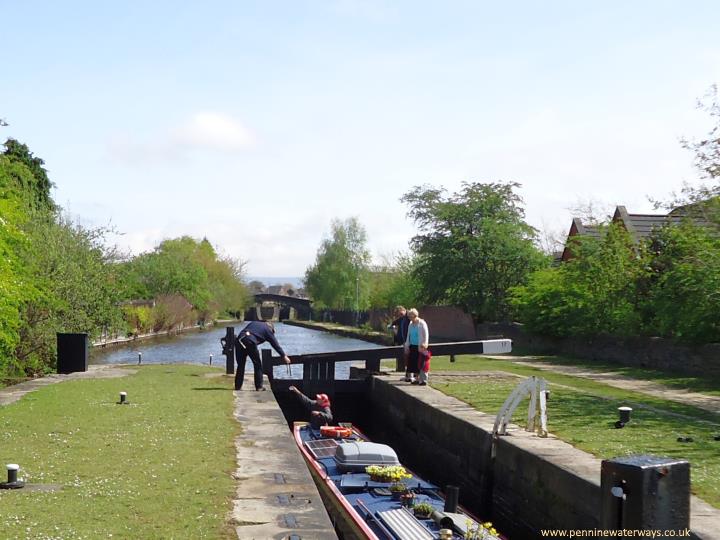
Looking east from Lock 17 towards Lock 18, Fairfield. These two locks were converted into double (twin) locks to help prevent tailbacks on this busy lock flight.
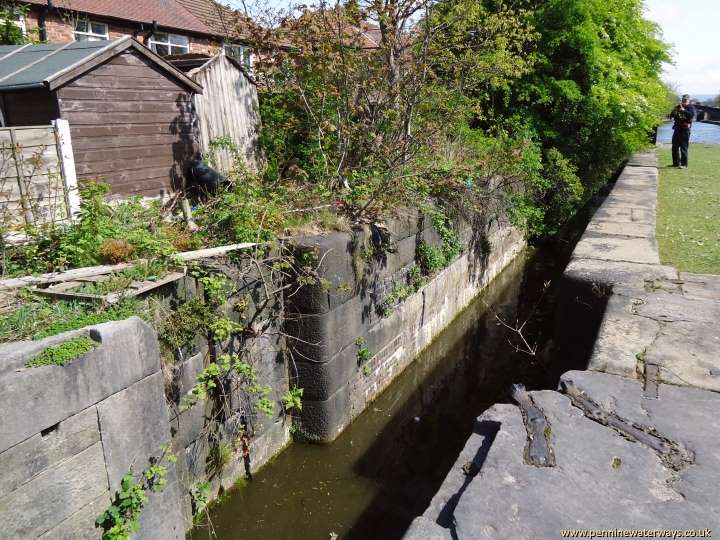
Lock 17, like Locks 1 and 18, was duplicated in the 1820s to reduce congestion. The disused lock can be clearly seen alongside.