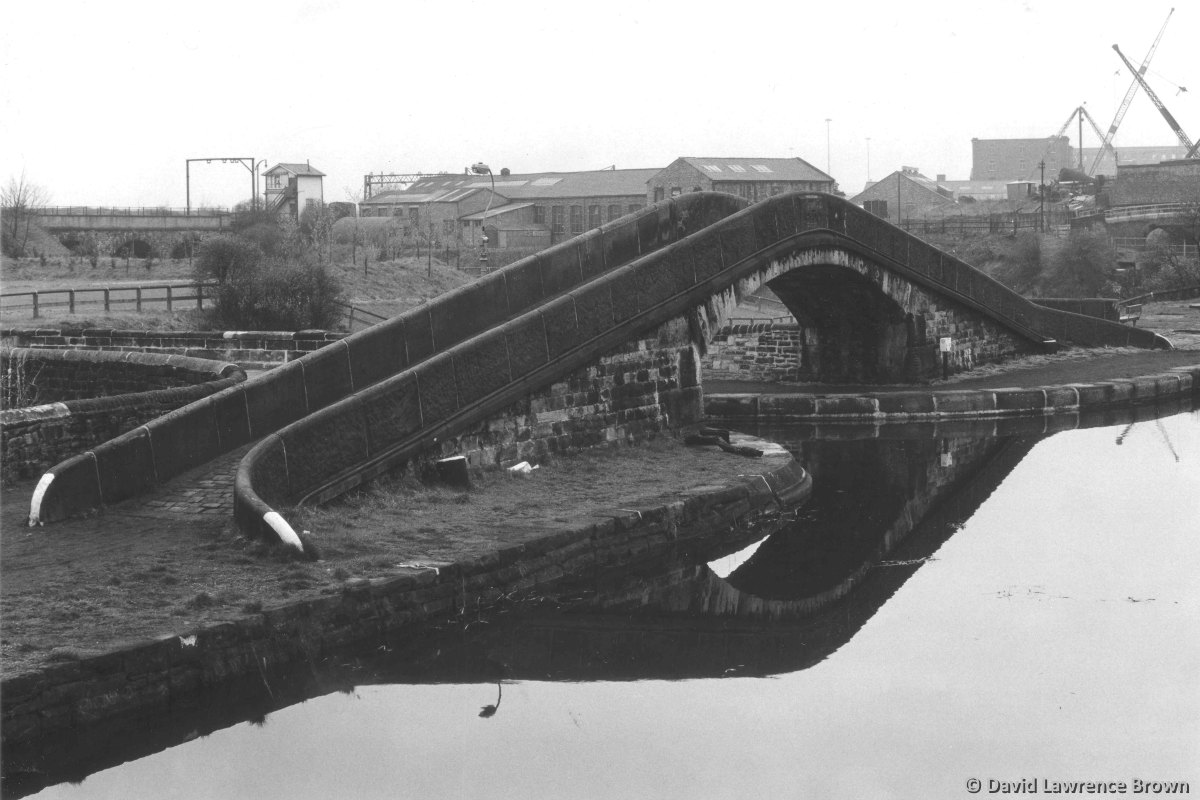
The "Weaver's Rest" towpath bridge across the junction with the Peak Forest Canal at Portland Basin.
Photo: David Lawrence Brown
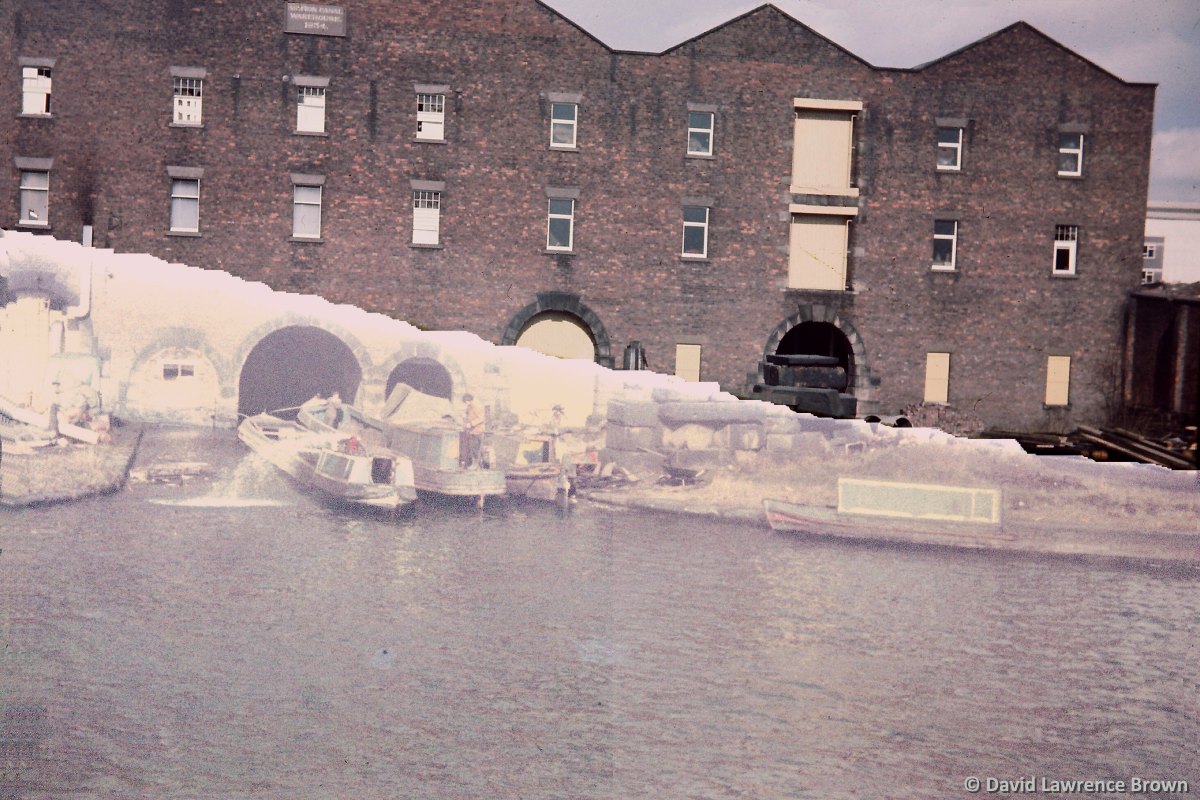
Portland Basin, showing the Ashton Canal Warehouse.
Photo: David Lawrence Brown
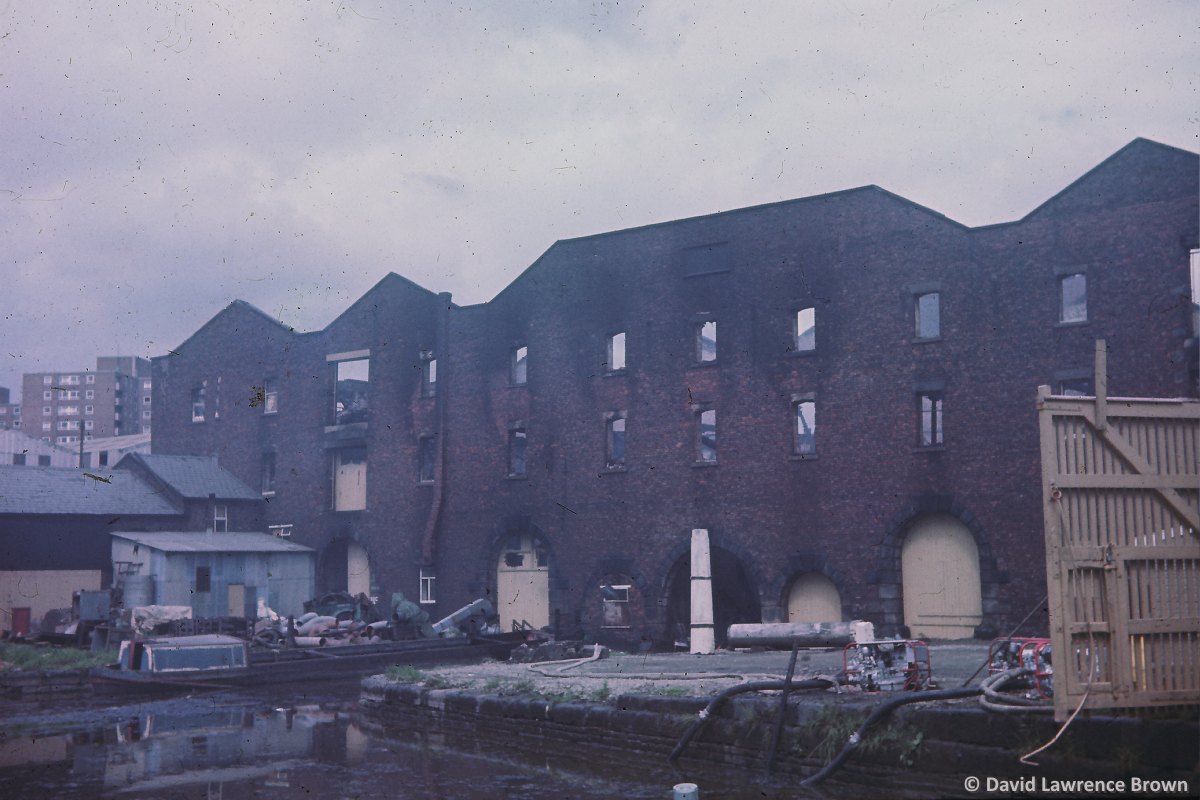
Portland Basin, showing the Ashton Canal Warehouse after the fire which destroyed it in 1972. The boat in the picture is Maria, before her conversion to a trip boat.
Photo: David Lawrence Brown
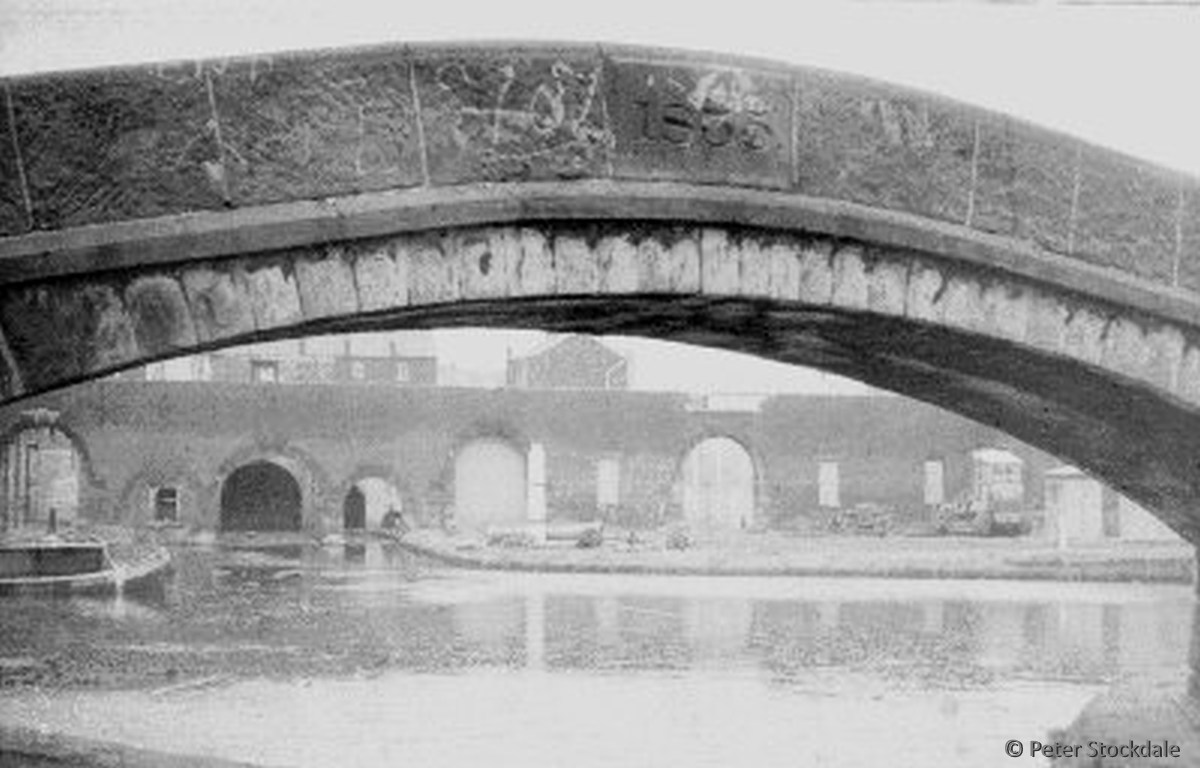
Portland Basin, showing the remains of the Ashton Canal Warehouse after the upper storeys had been demolished following the fire.
Photo: Peter Stockdale
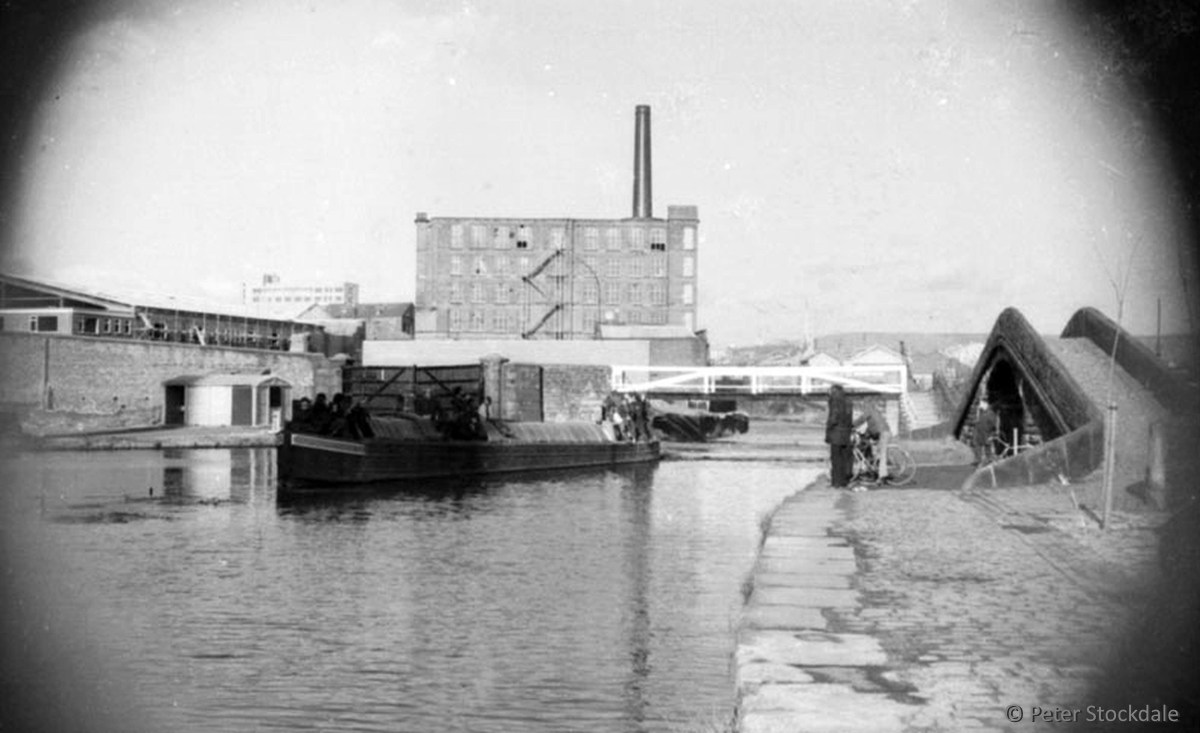
Portland Basin, looking east.
Photo: Peter Stockdale
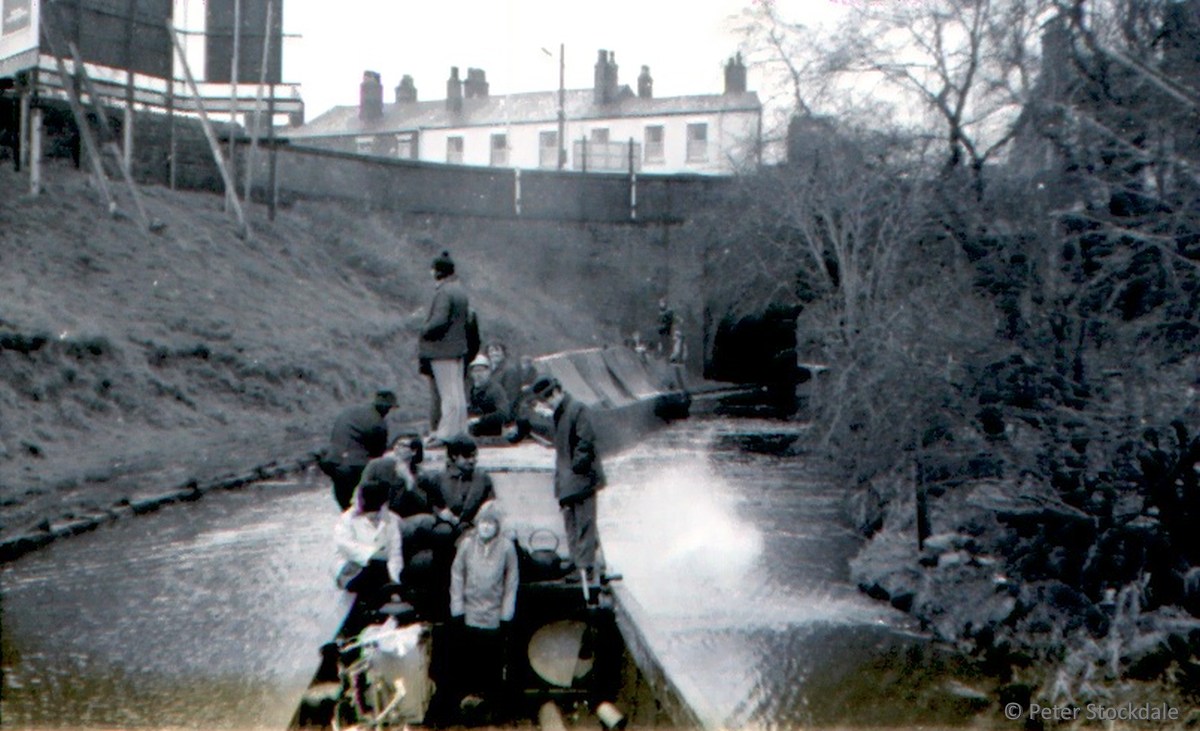
Guide Bridge, looking west.
Photo: Peter Stockdale
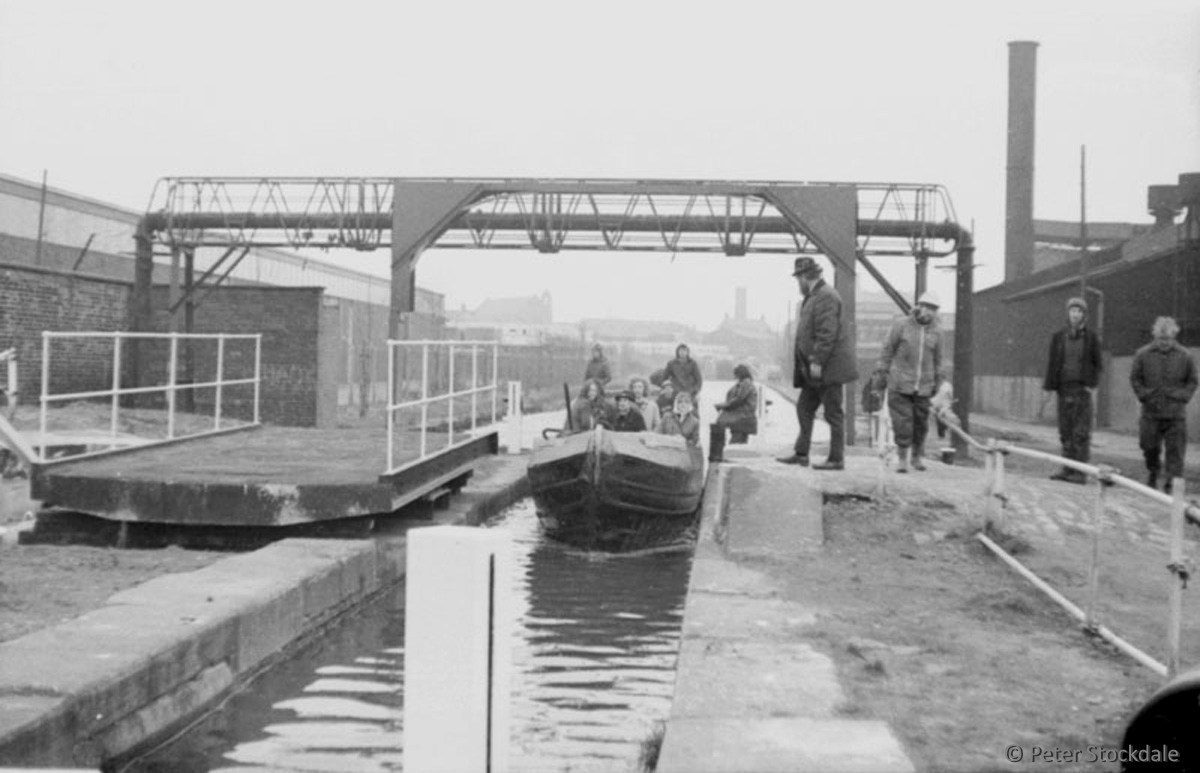
Crabtree Lane lock (Lock 13) and swing bridge, on the Ashton Canal at Clayton.
Photo: Peter Stockdale
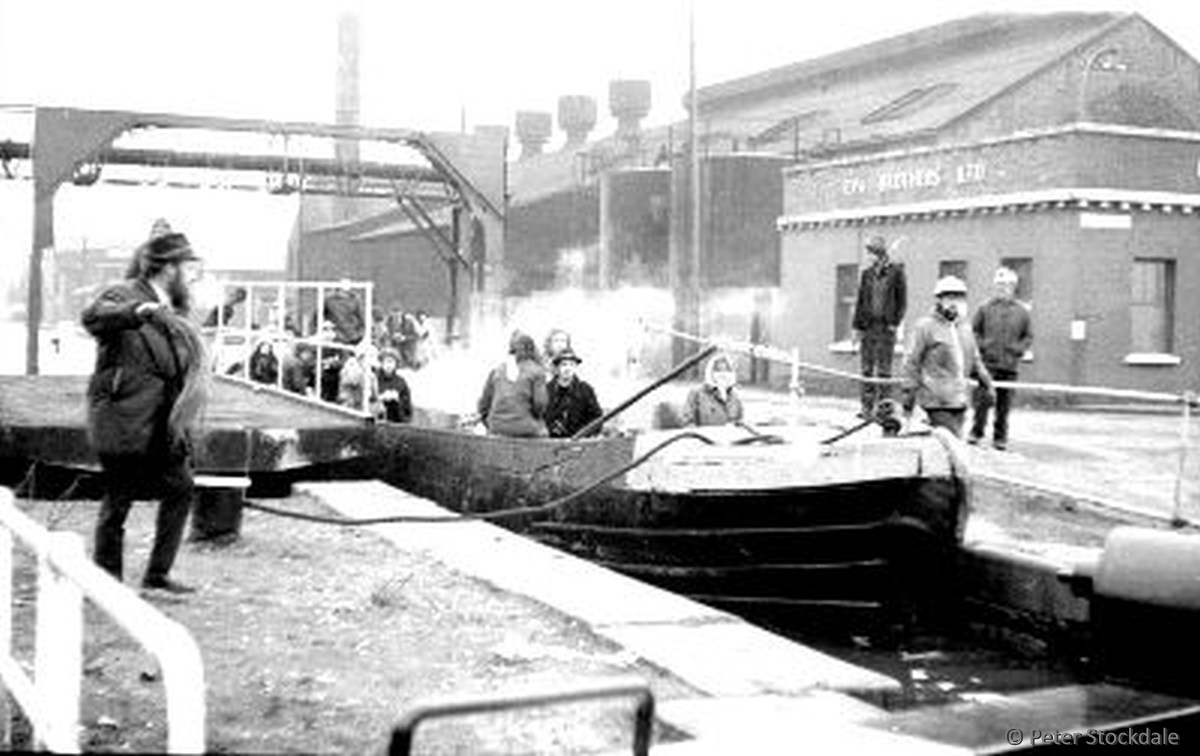
Crabtree Lane lock (Lock 13) and swing bridge, on the Ashton Canal at Clayton.
Photo: Peter Stockdale