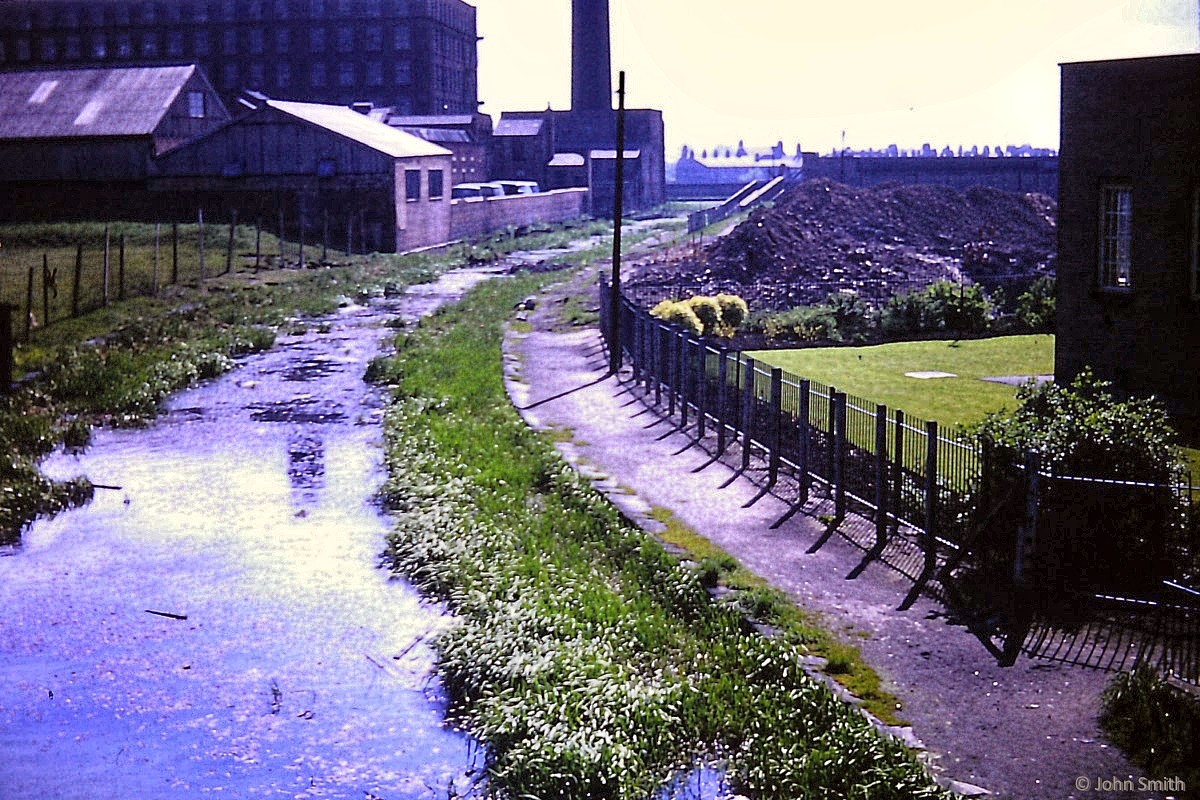
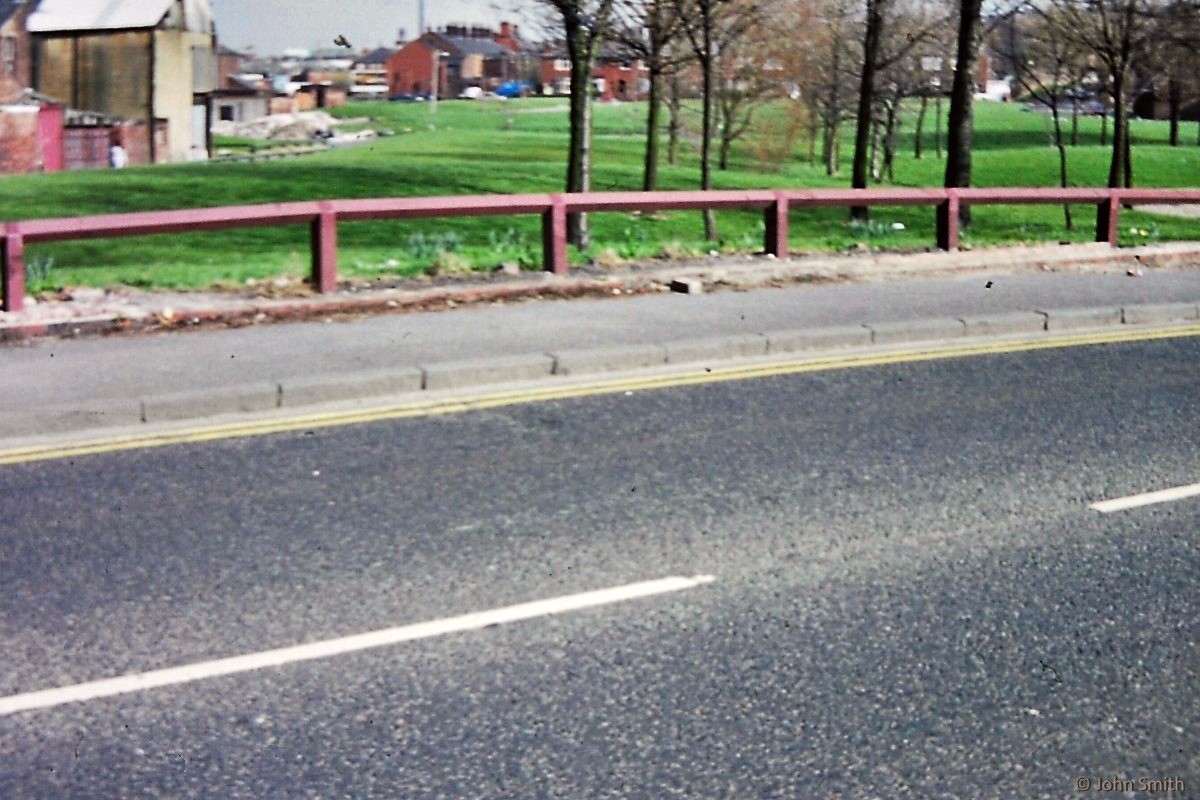
The Ashton Canal's Hollinwood Branch looking from Manchester Road back towards Fairfield Junction. Notice in the distance the towpath bridge crossing the arm that served Victoria Mill.
Photo: John Smith
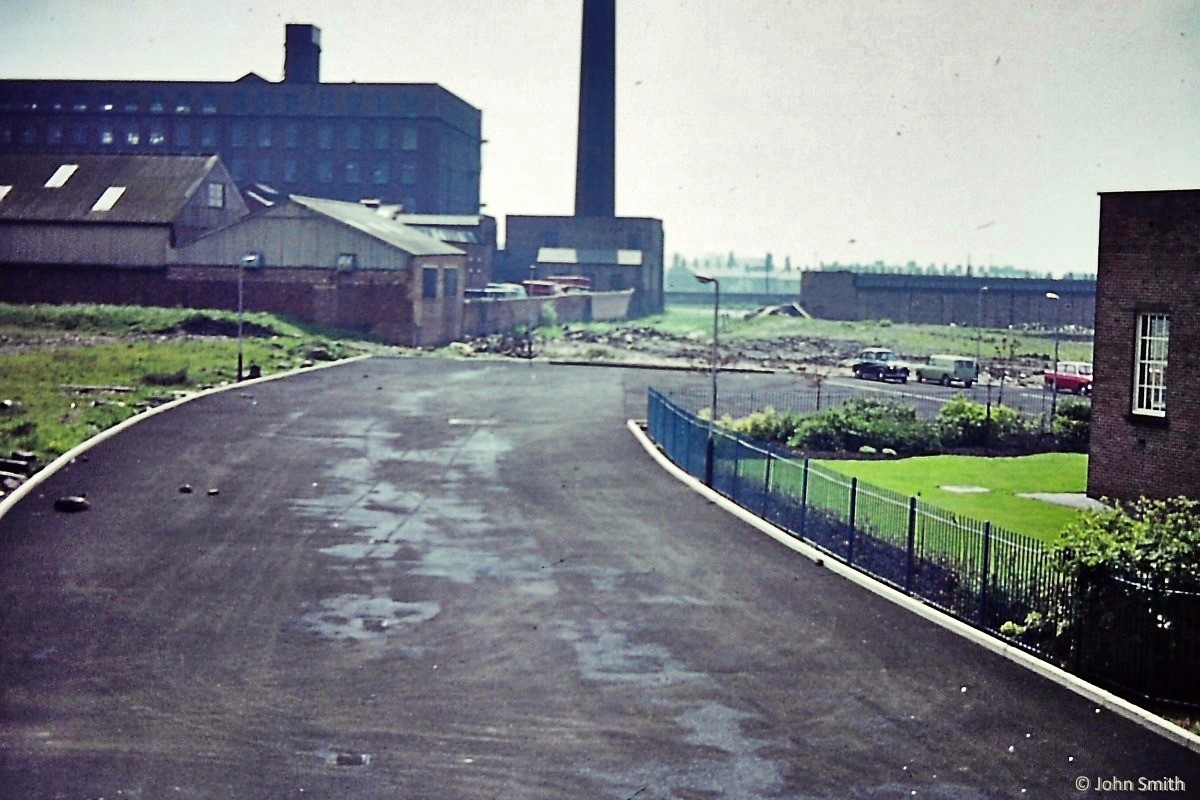
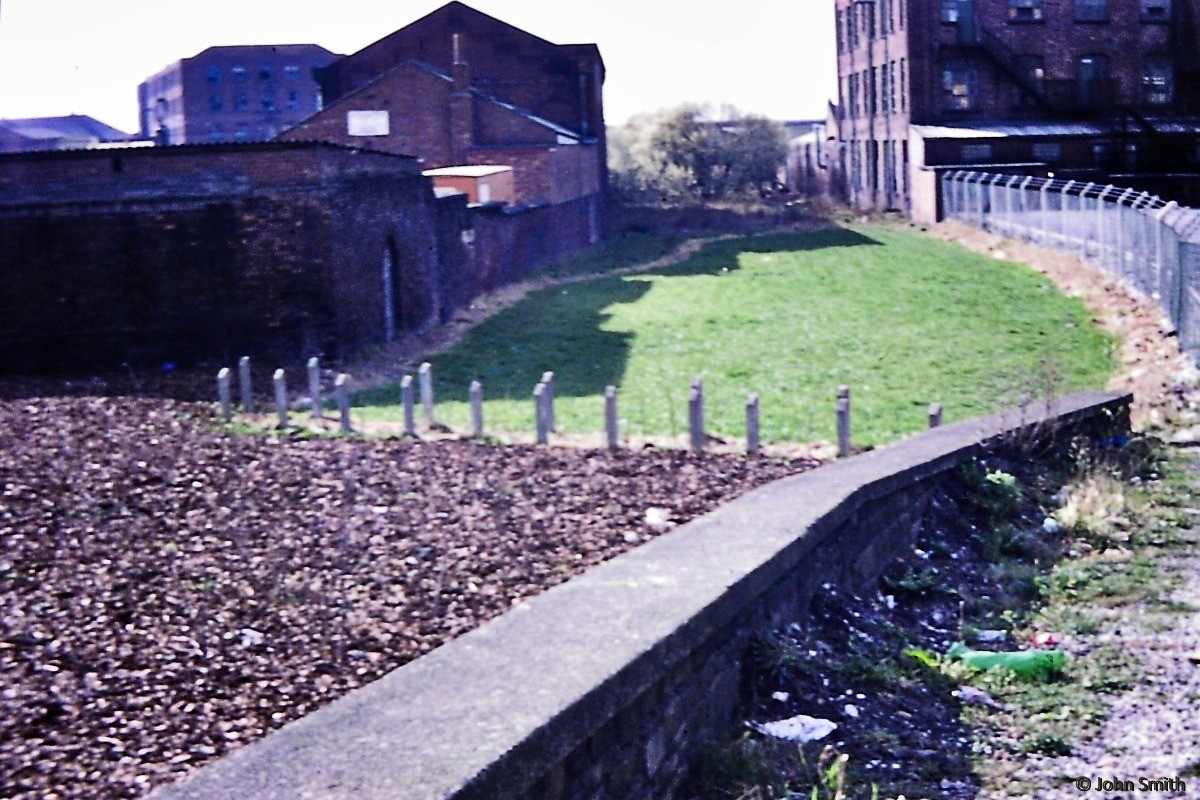
The same viewpoint as the previous photo, but the canal has been infilled. You can still see the main line of the Ashton Canal at Fairfield Junction to the right of the chimney..
Photo: John Smith
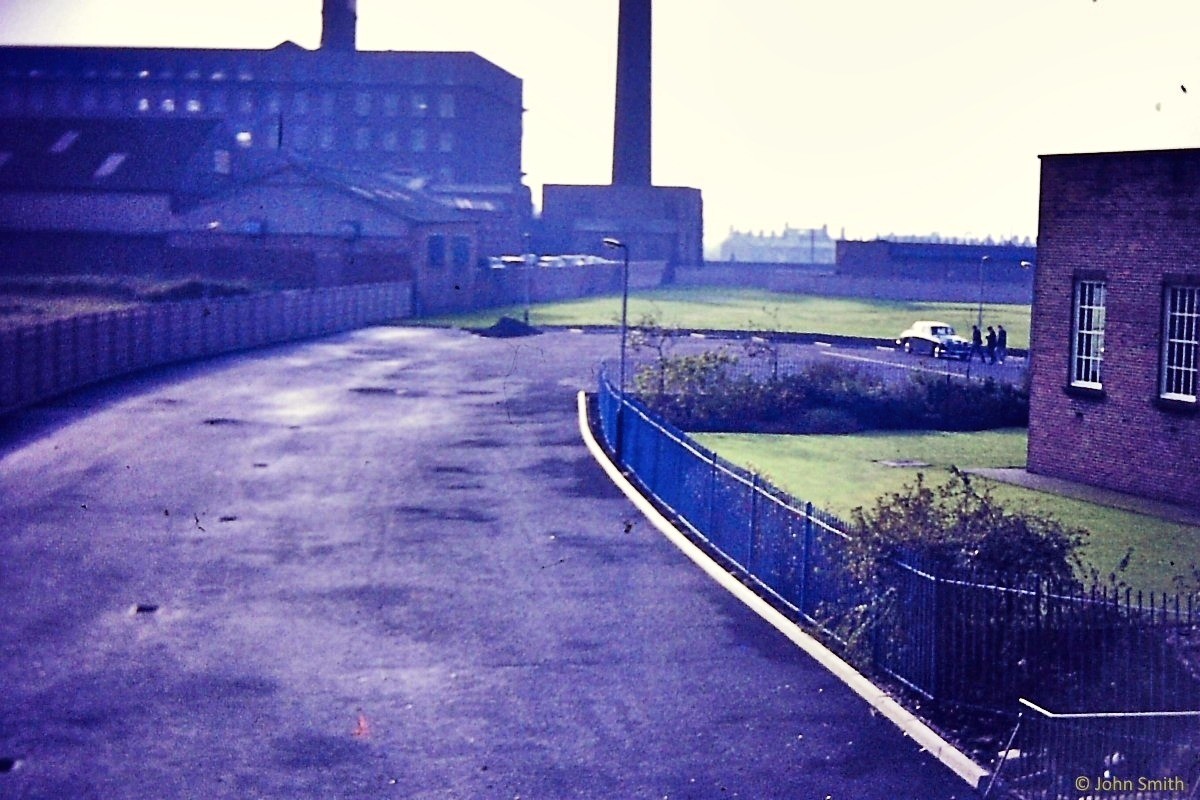
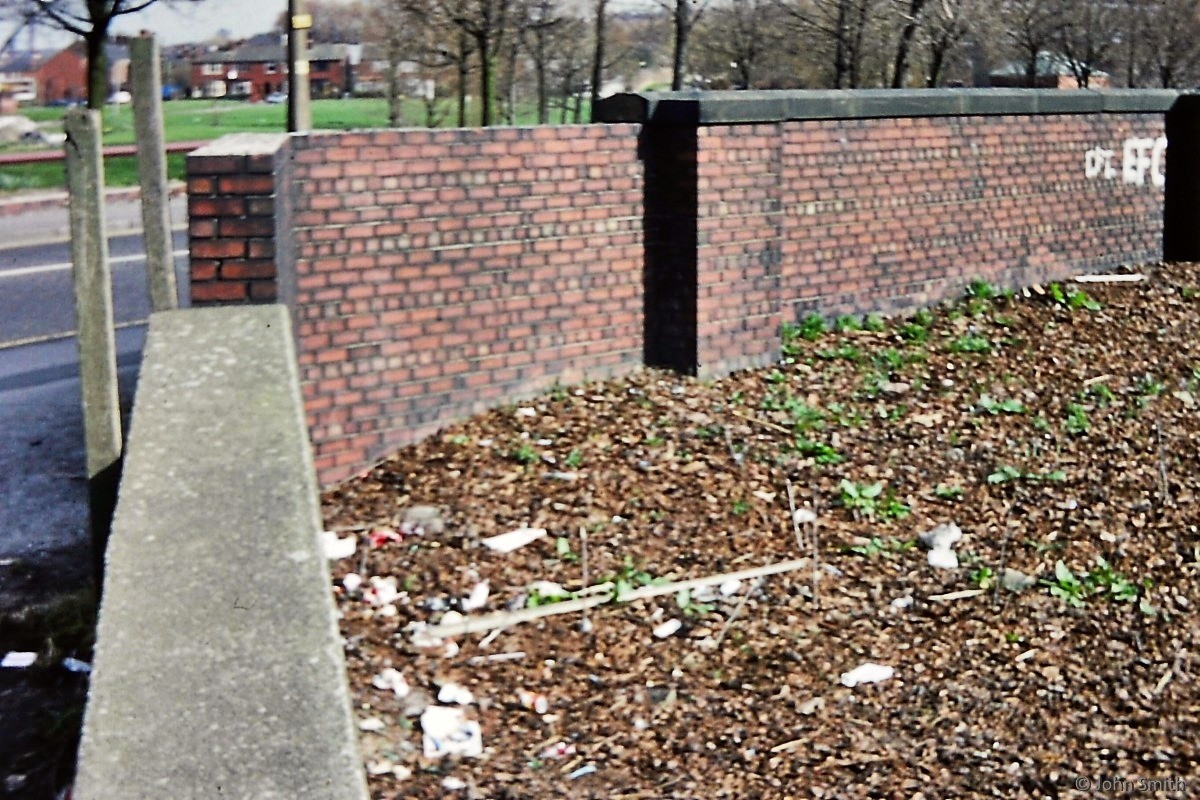
The same spot a little later, with the area landscaped and fenced off. Droylsden Library, on the right of the photo, was demolished in 2021.
Photo: John Smith
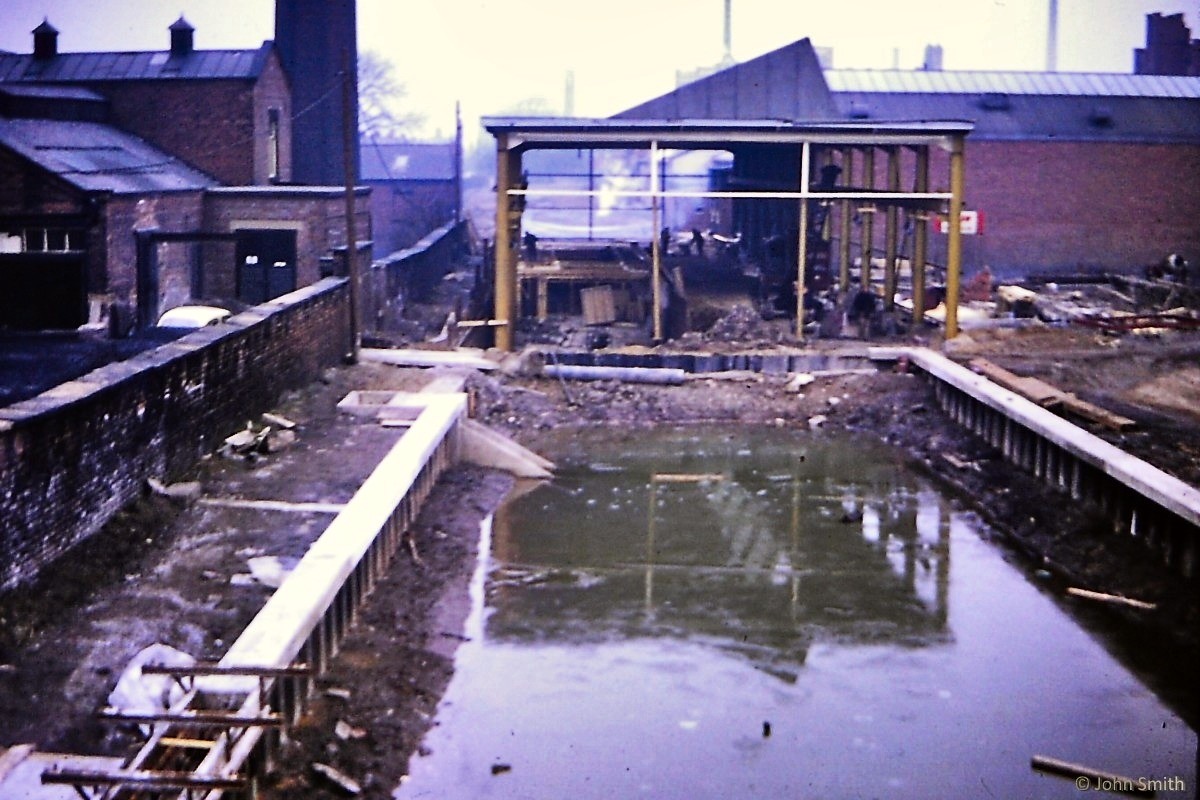
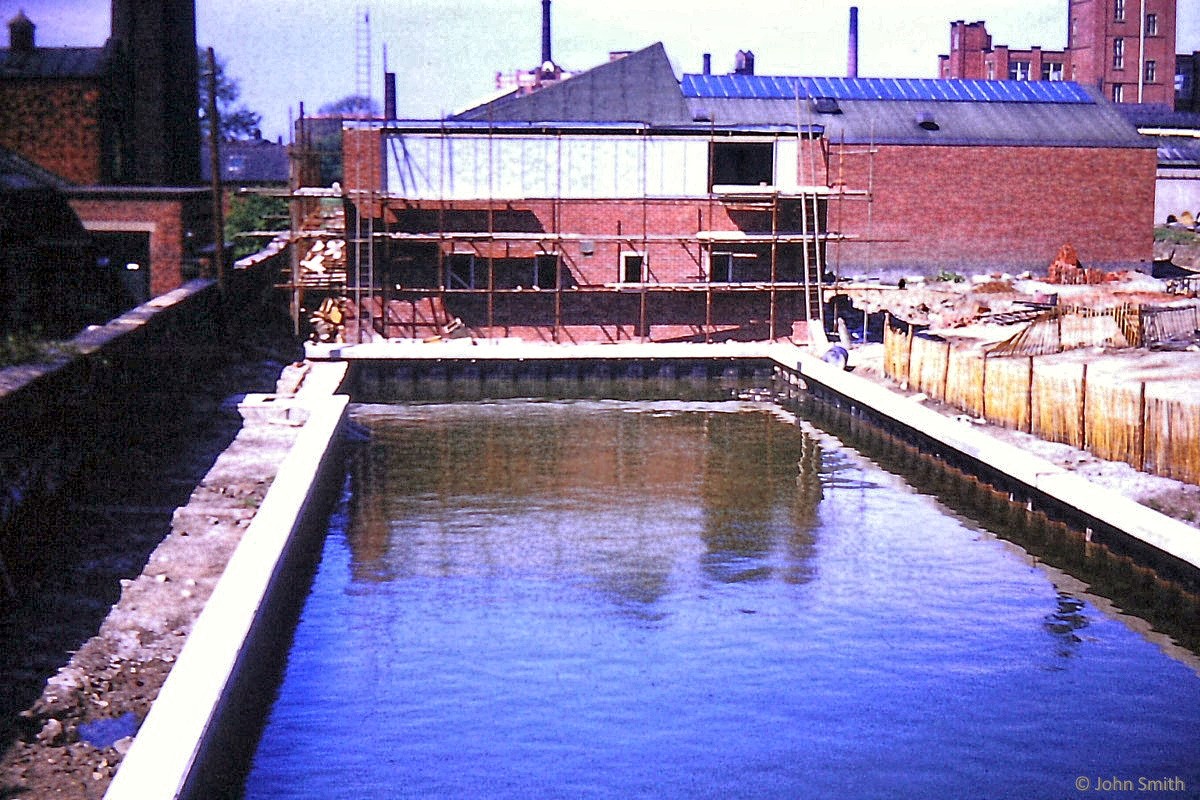
Looking north from Manchester Road, with Christy's towel factory on the left. A building and a storage reservoir are being constructed on the canal line.
Photo: John Smith
A later view of the same location. This has all since been demolished.
Photo: John Smith
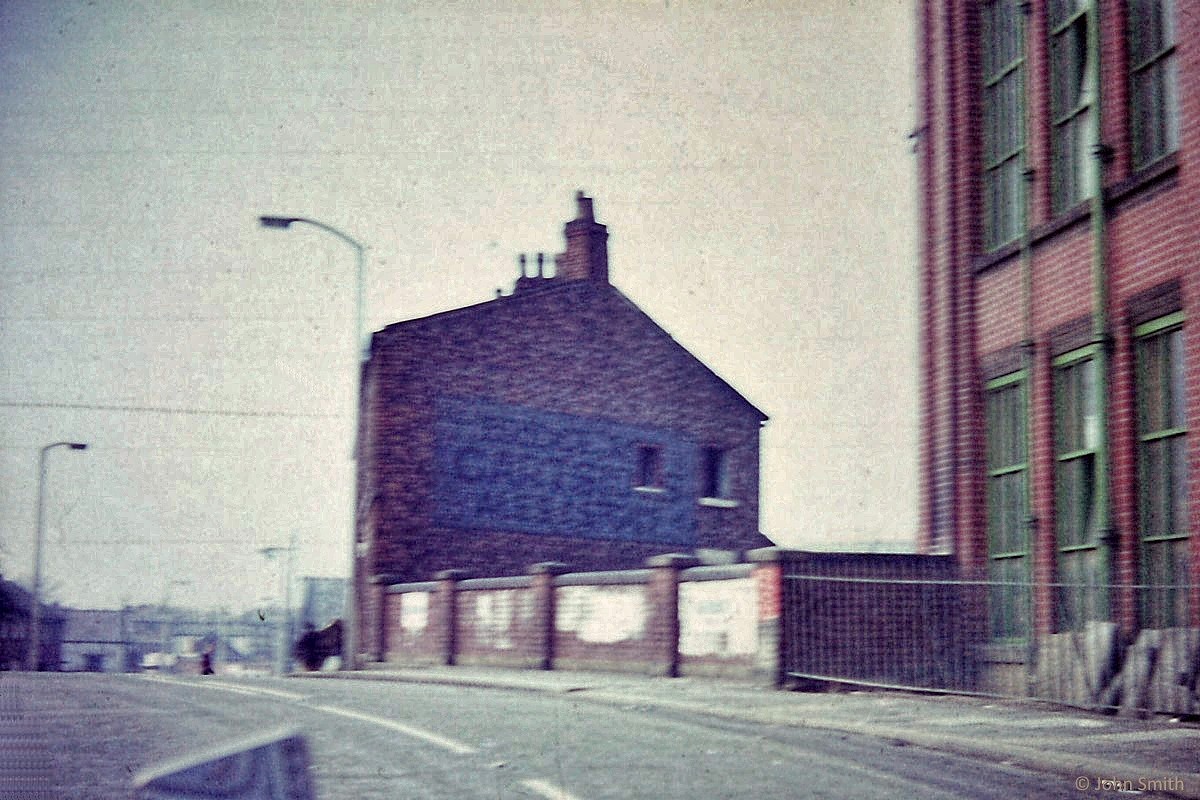
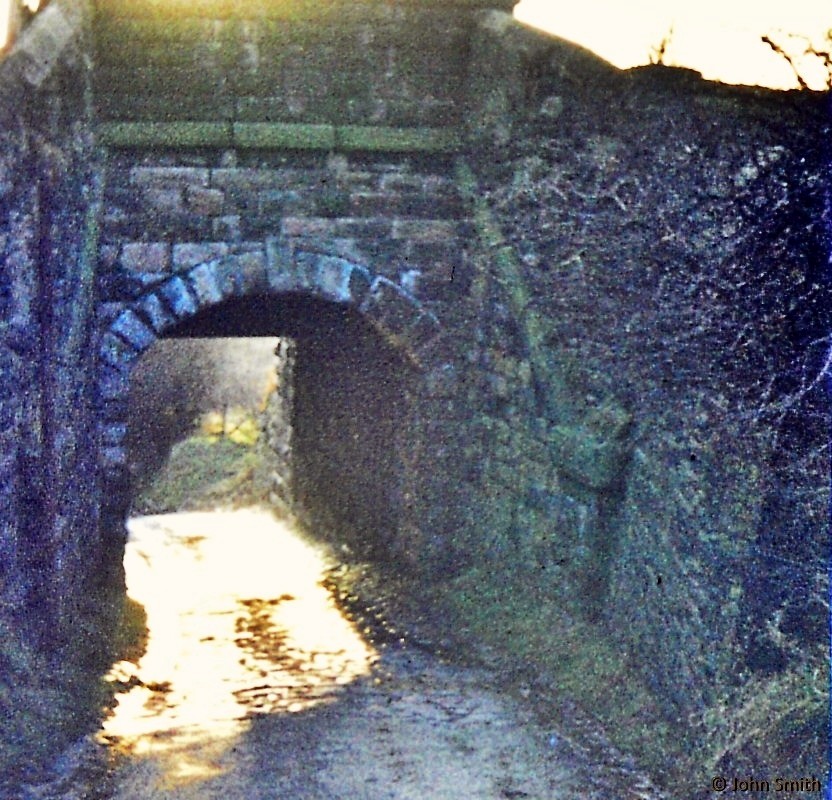
Harrison's Bridge, which carried Greenside Lane over the Hollinwood Branch. The infilled bridge is still there although the building in the centre of the photo has gone.
Photo: John Smith
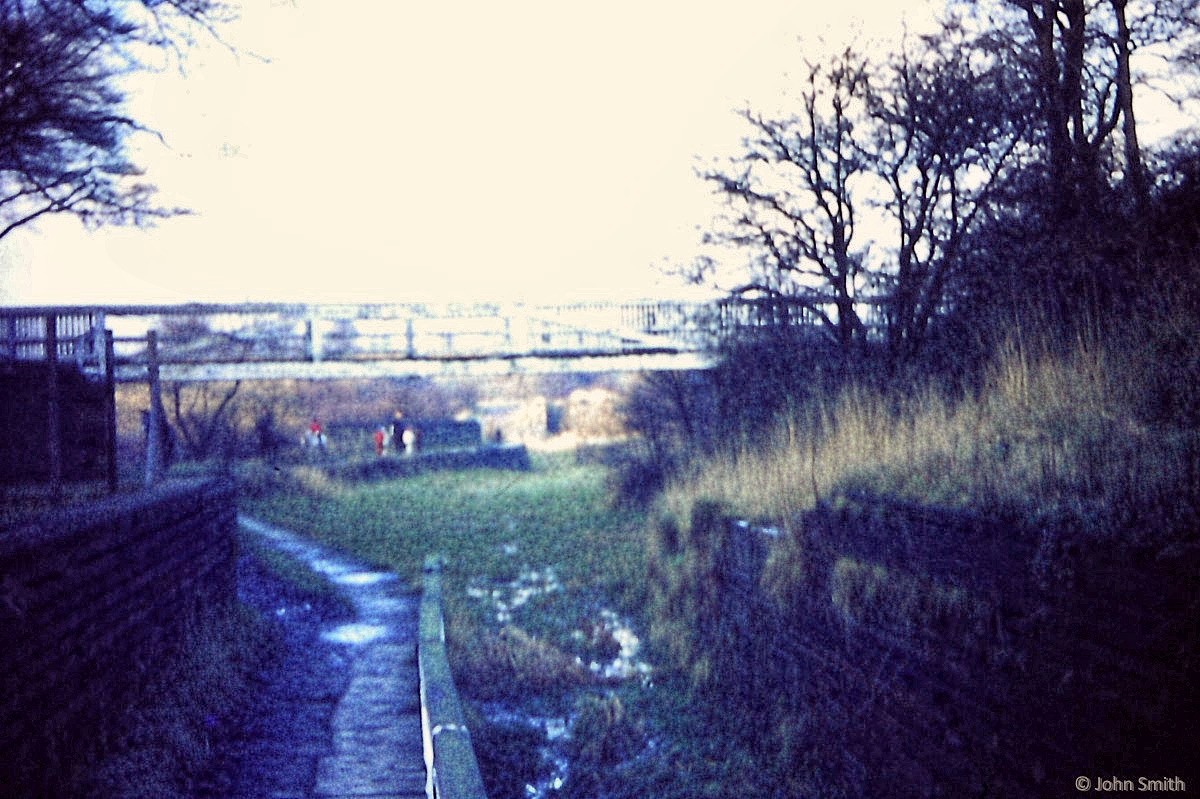
Looking north from the opened-out Waterhouses Tunnel, past the white footbridge towards Waterhouses Aqueduct and the remains of Lock 19.
Photo: John Smith
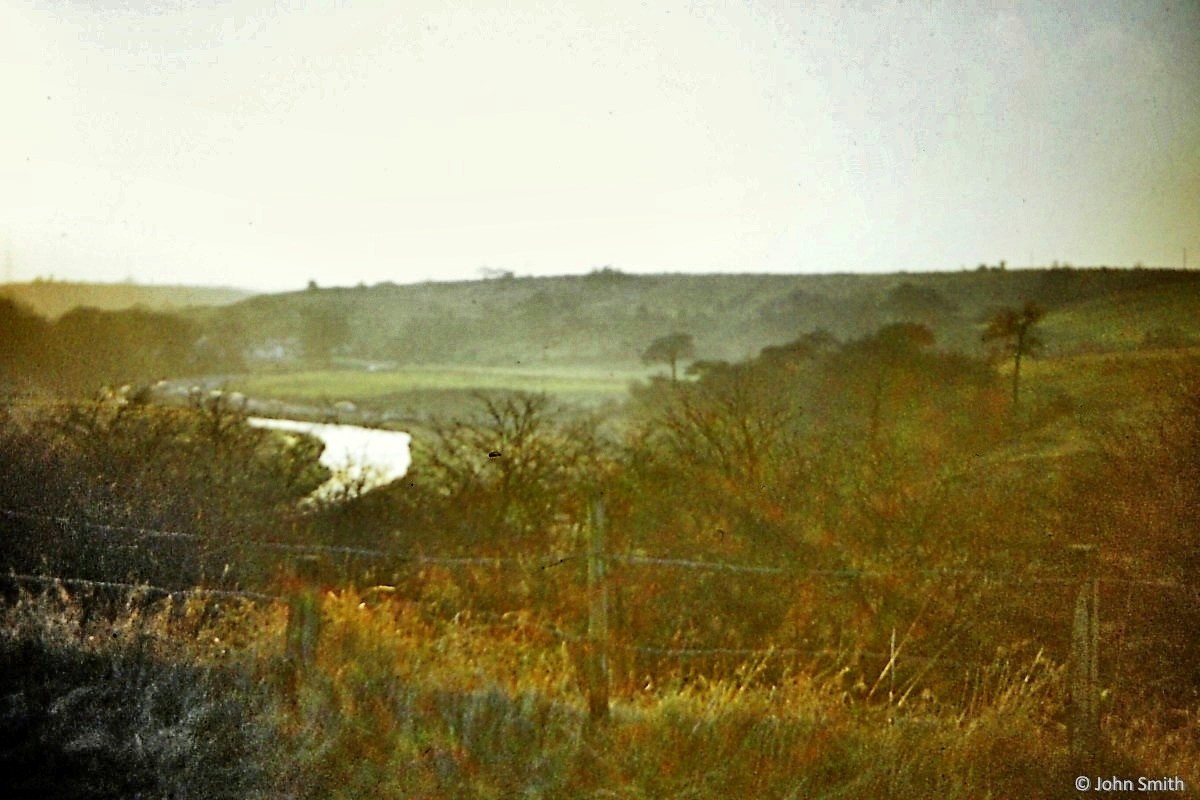
Looking down from Lock 19 to the River Medlock.
Photo: John Smith
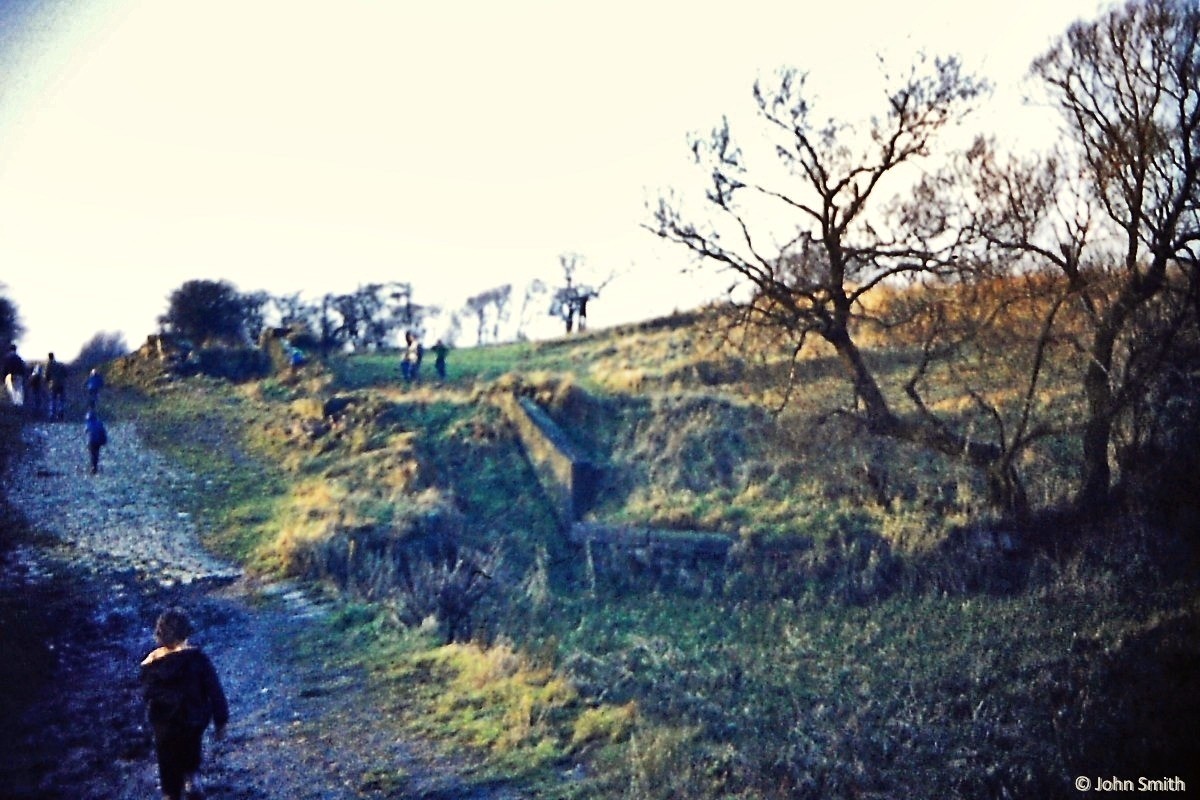
The derelict remains of the staircase locks 20 and 21 seen from Lock 19. This was after the two cottages and the pumping station had been demolished but before the area had been prettified to create Daisy Nook Country Park.
Photo: John Smith
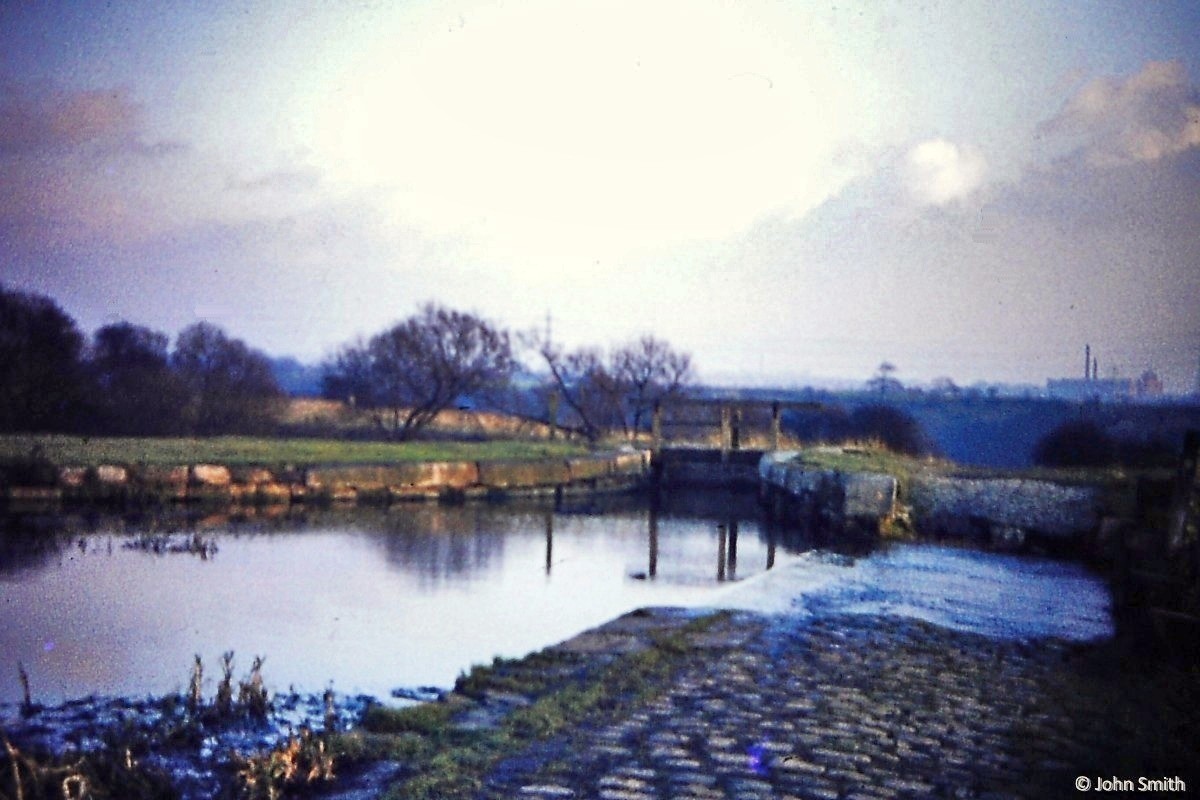
The entrance to what is left of Lock 22 from the overflow spillway..
Photo: John Smith
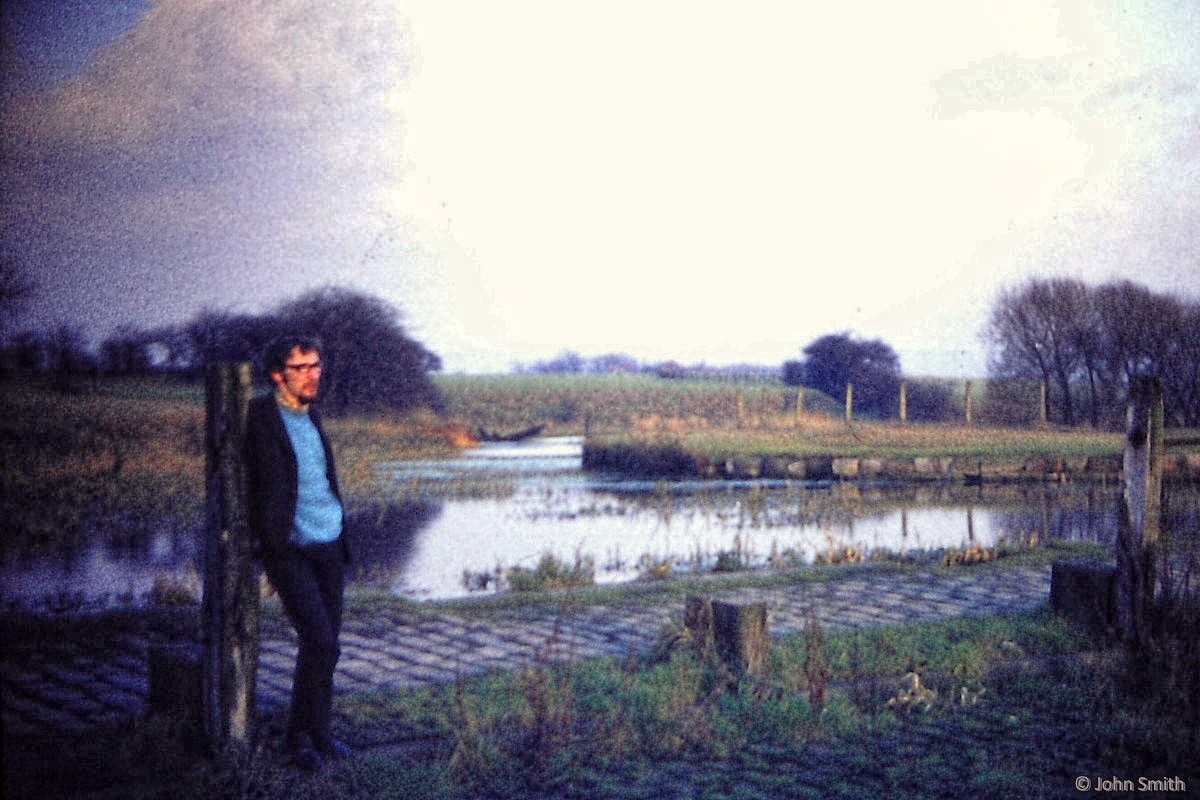
From nearly the same point as the previous photo, looking across to the start of the Fairbottom Branch. Note the remains of an old wooden boat near the site of the coal loading staithe.
Photo: John Smith
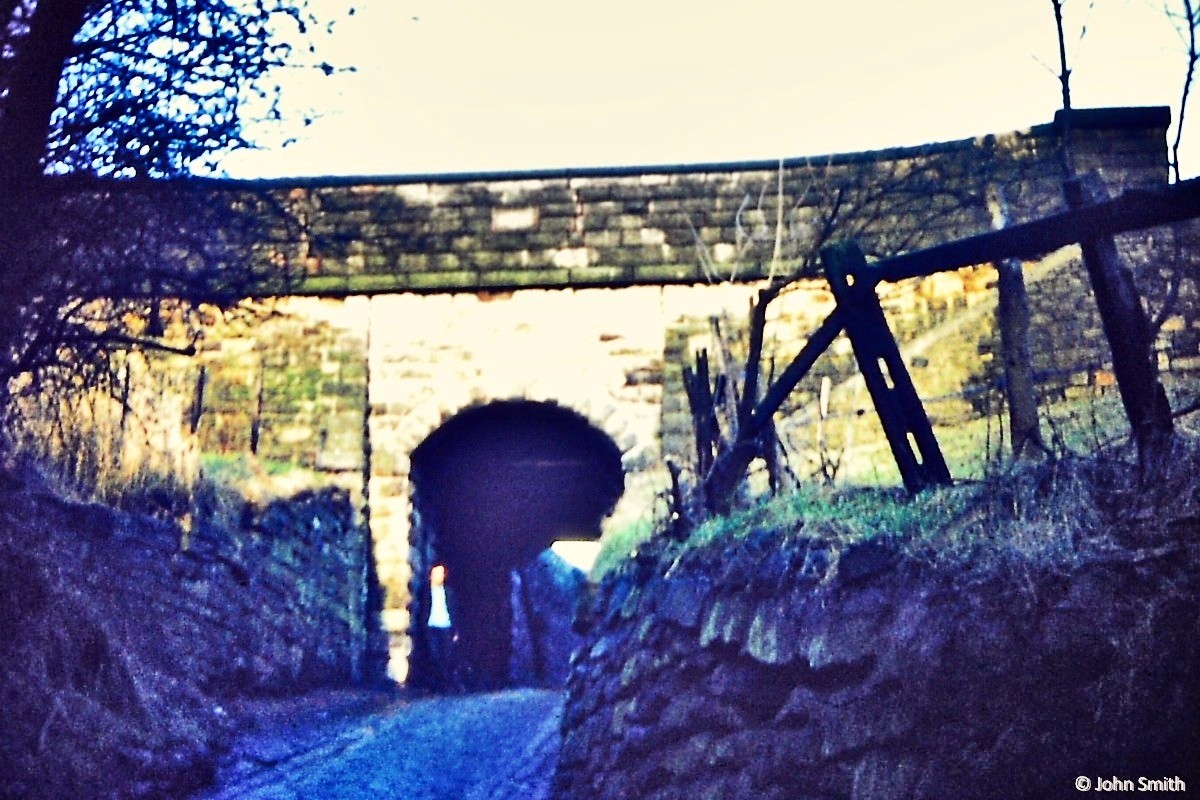
Crime Lane Aqueduct seen from the south-west.
Photo: John Smith
The uphill side of Crime Lane Aqueduct.
Photo: John Smith
Looking back along the infilled line of the Hollinwood Branch from Hollins Road, Hollinwood..
Photo: John Smith
The infilled bridge that carried Hollins Road across the canal.
Photo: John Smith
Looking across Hollins Road to the site of what had been Bradley Bent Basin, with the site of Lock 23 visible towards the right of the photo. This entire area has now vanished and been replaced with a motorway junction.
Photo: John Smith