The virtual cruise from Sheffield now continues along the River Don Navigation through Rotherham.
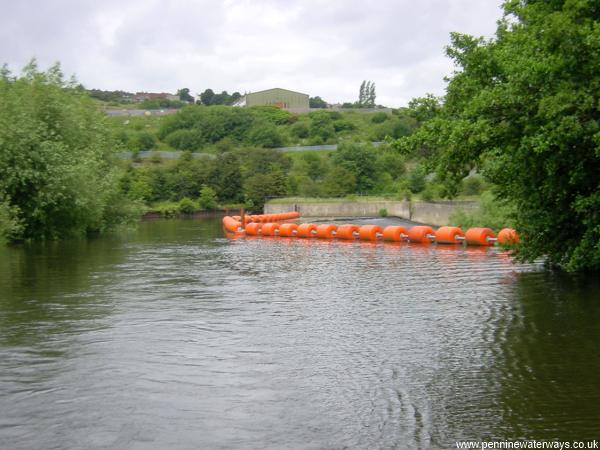
Half a mile after the canal from Sheffield enters the River Don at Halfpenny Bridge, there is a weir on the right, with a barrier to prevent boats going astray. The navigation goes to the left, into a lock cut, through Jordans Lock, Holmes Lock and Ickles Lock before re-joining the river.
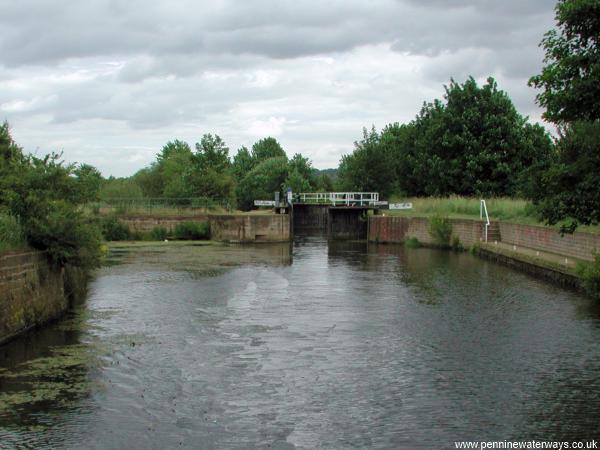
Jordans Lock. (photo: Neil Arlidge)
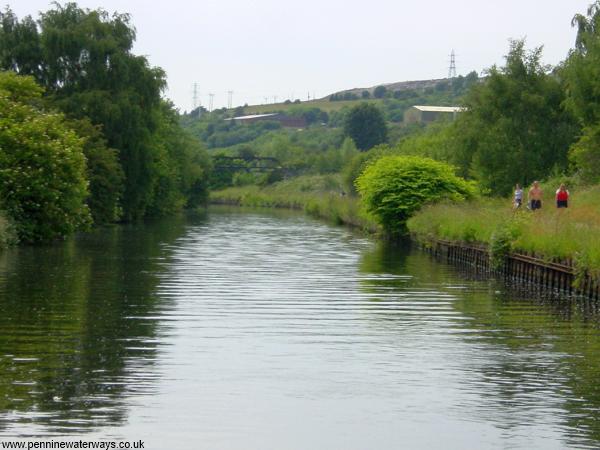
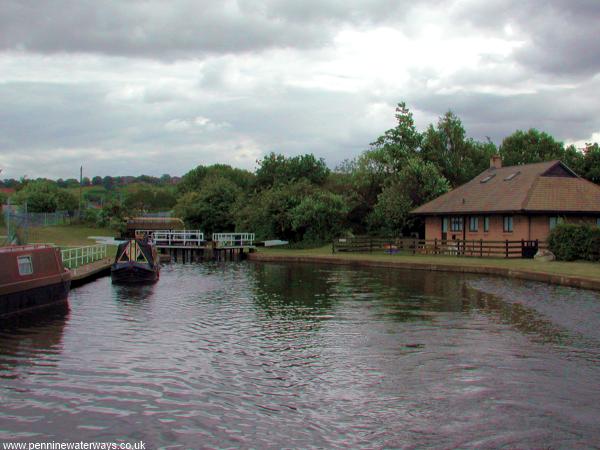
Looking westwards above Holmes Lock.
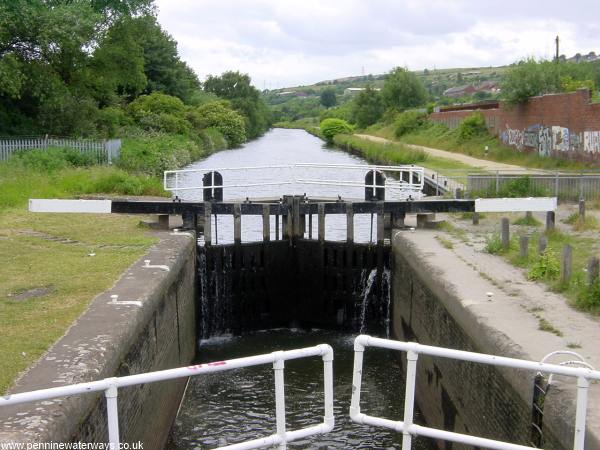
Holmes Lock.
Below Holmes Lock. (photo: Neil Arlidge)
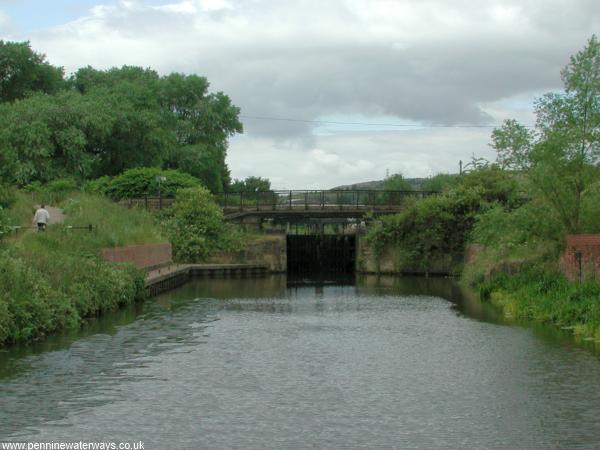
Approaching Ickles Lock. After Ickles Lock, the navigation follows the river for half a mile to the next lock cut at Rotherham Lock. (photo: Neil Arlidge)
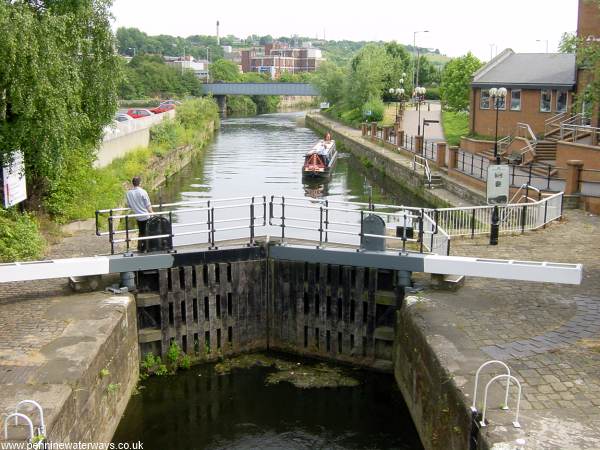
This picture looks back from the footbridge across Rotherham Lock. Rotherham seems to turn its back on the waterway but at a new Magistrates' Court overlooks this lock and makes a feature of it.